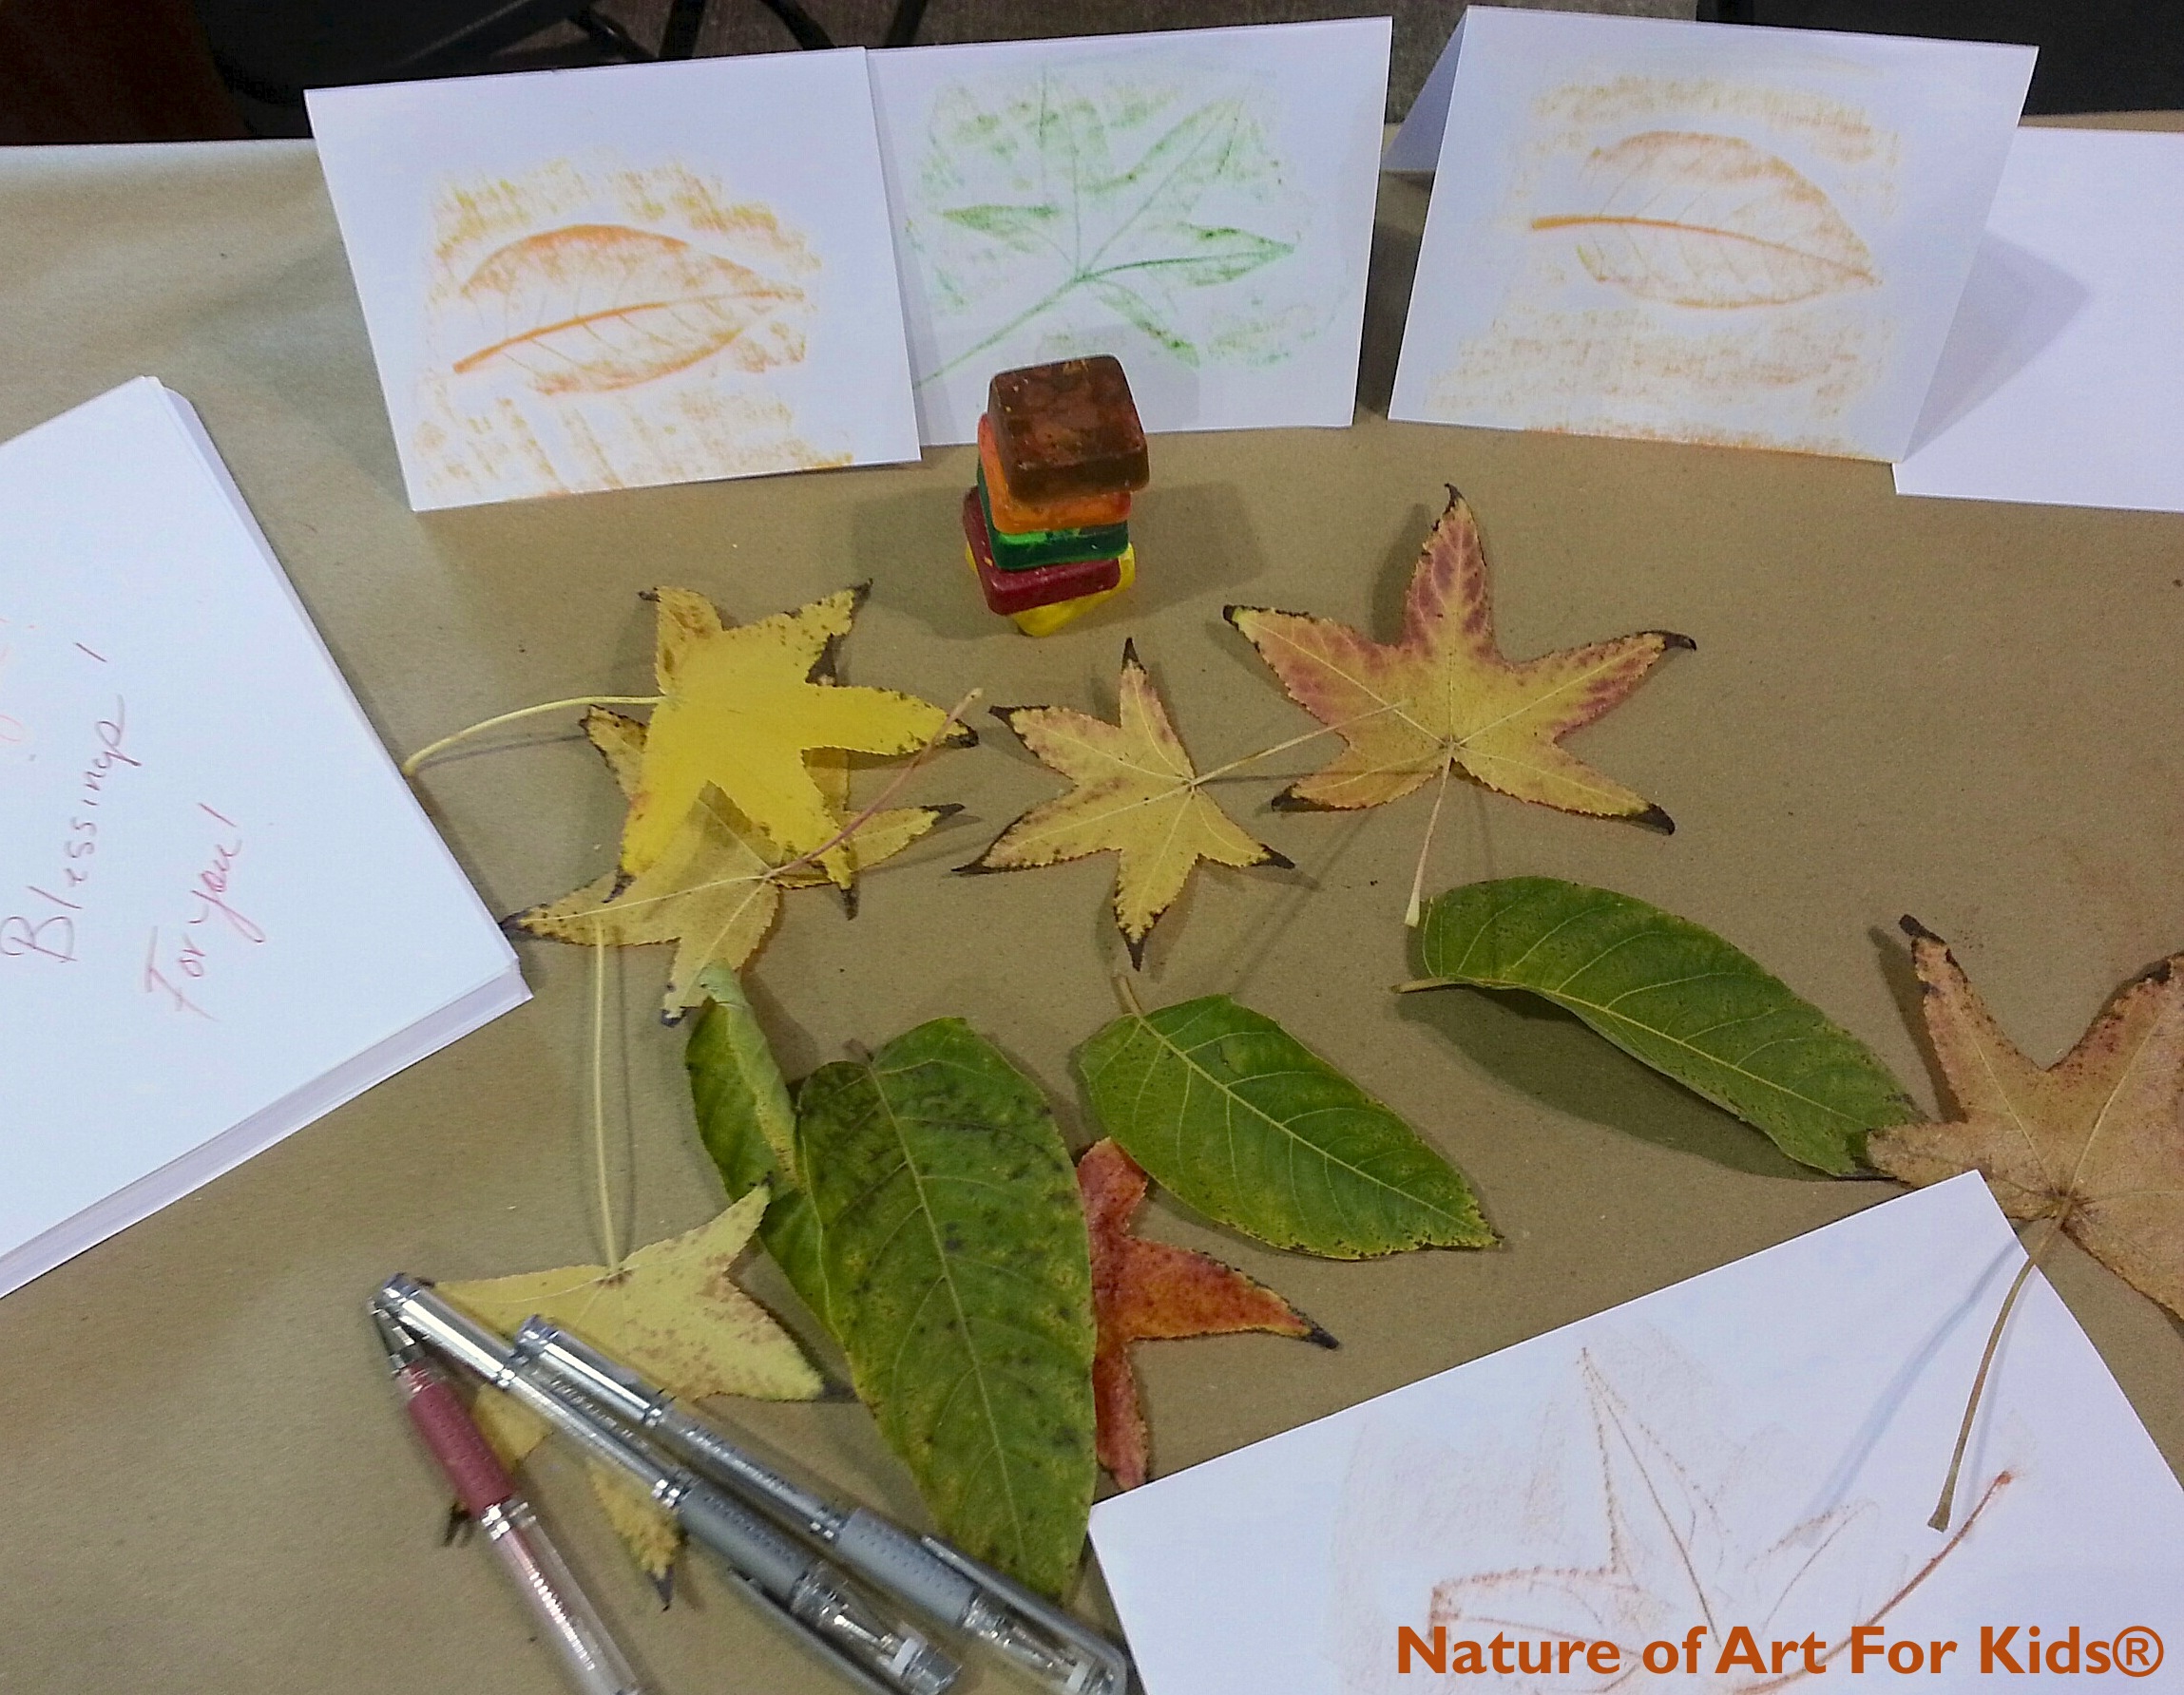
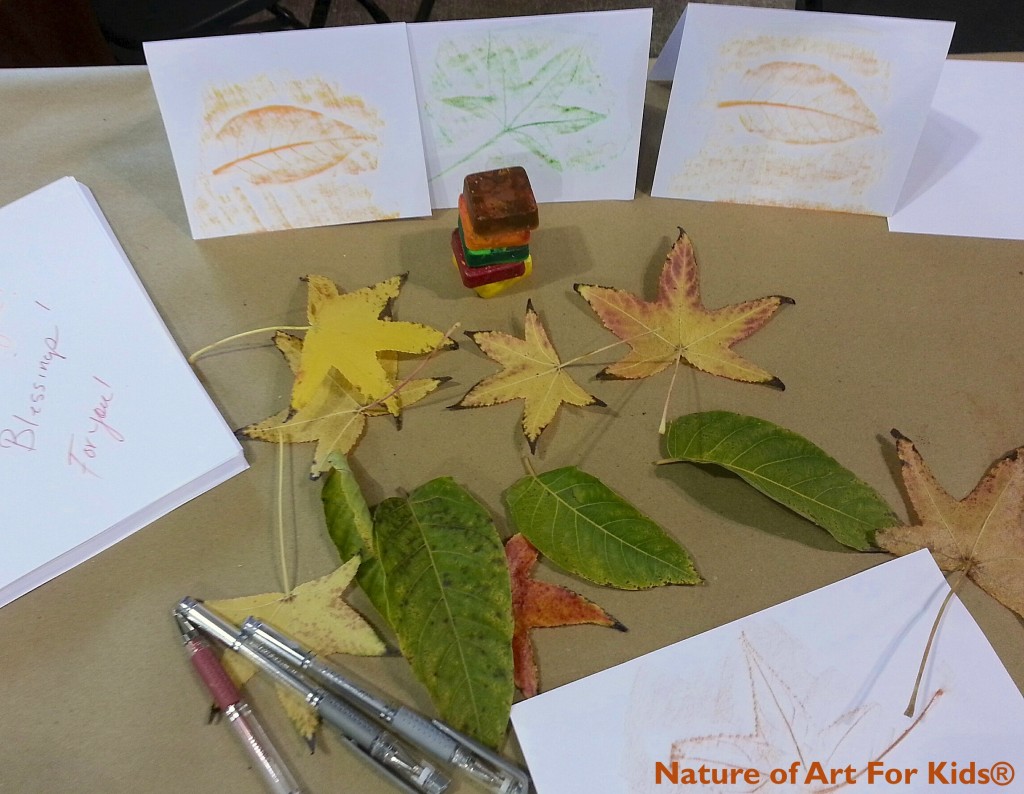
I thought it would be enjoyable to demonstrate how to create crayon leaf rubbing thank you cards. This project is incredibly straightforward and accessible. I opt for using natural leaves collected from the trees in the vicinity. I’ve discovered that utilizing leaves of various sizes results in charming cards and adds a delightful element to the process.
During the previous autumn, I introduced this leaf rubbing activity to families attending my art events, and it was met with great enthusiasm! When conducting this activity with my students, we venture outdoors to gather leaves. Witnessing their excitement as they return with an assortment of leaf shapes for rubbing is truly delightful.
These cards can serve as thoughtful gestures during Thanksgiving, whether shared with guests or family members. They can transform into expressions of gratitude or serve as a simple yet engaging activity for your guests.
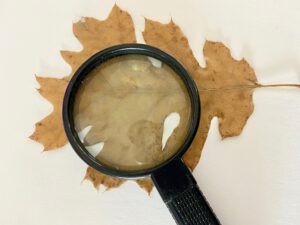
A tradition I’ve maintained since my children were young involves sending them outside while I prepare Thanksgiving dinner. Their mission? To scout and gather leaves for our table place cards and decorations. This tradition adds a touch of nature and creativity to our Thanksgiving celebrations, fostering cherished memories year after year.
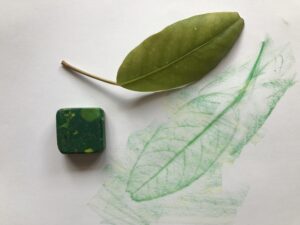
Leaf Rubbing Supplies:
- Paper or Blank Note Cards
- Crayons (Grassy Green, Fire Red, Summer Sunset, and Harvest Brown)
- Leaves (picked off the ground from local trees, varying sizes)
- Pens, Pencils, or Color Pencils (for writing personalized messages in the cards)
These supplies are all you need to create beautiful thank you cards through leaf rubbing, a simple yet creative activity.
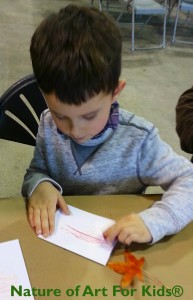

We use basic white copy paper sized at 5 1/2 x 8 1/2, folded down to create a greeting card. Alternatively, you can use pre-made blank greeting cards for this activity. When making these leaf rubbings, we explore a variety of color crayon options to enhance the creative process.
Leaf rubbing tips:
When you place your leaf on the paper be sure it’s faced down, you want vein side facing up. You will get a better impression of leaf marks. Also keep a firm grip so your leaf does not move around. Try make several leaf rubbings, it takes a few to get the hang of it and perfect it. Some little kids might need assistance so the leaf stays in place while they make coloring marks.
Leaf Rubbing Steps:
Place the Leaf:
- Place the leaf facing down, with the vein side up.
Position Paper:
- Lay the paper on top of the leaf.
Secure Leaf and Paper:
- Hold the paper and leaf firmly to prevent movement.
Start Rubbing:
- Take a crayon and begin rubbing over where you estimate the leaf area to be.
Reveal the Impression:
- The leaf rubbing impression should start to appear on the paper!
All rights reserved © 2025, Nature of Art®

No part of this blog may be used or be reproduced in any manner whatsoever including reproducing, publishing, performing, and making any adaptions of the work – including translation into another foreign language without written permission except in the case of brief quotations embodied in critical articles and reviews. Nature of Art® Publishing P.O. Box 443 Solana Beach, California 92075.


Recent Comments
[…] • Make natural prints from plants, flowers and leaves […]
[…] 7. Thankful place cards (recycle old cards, paper or brown bags) […]
http://Nature%20Arts%20and%20Craft%20Projects%20for%20Thanksgiving
November 5, 2015 at 3:55 am[…] 7. Thankful place cards (recycle old cards, paper or brown bags) […]
[…] 7. Thankful place cards (recycle old cards, paper or brown bags) […]
[…] 7. Thankful place cards (recycle old cards, paper or brown bags) […]
Comments are closed.