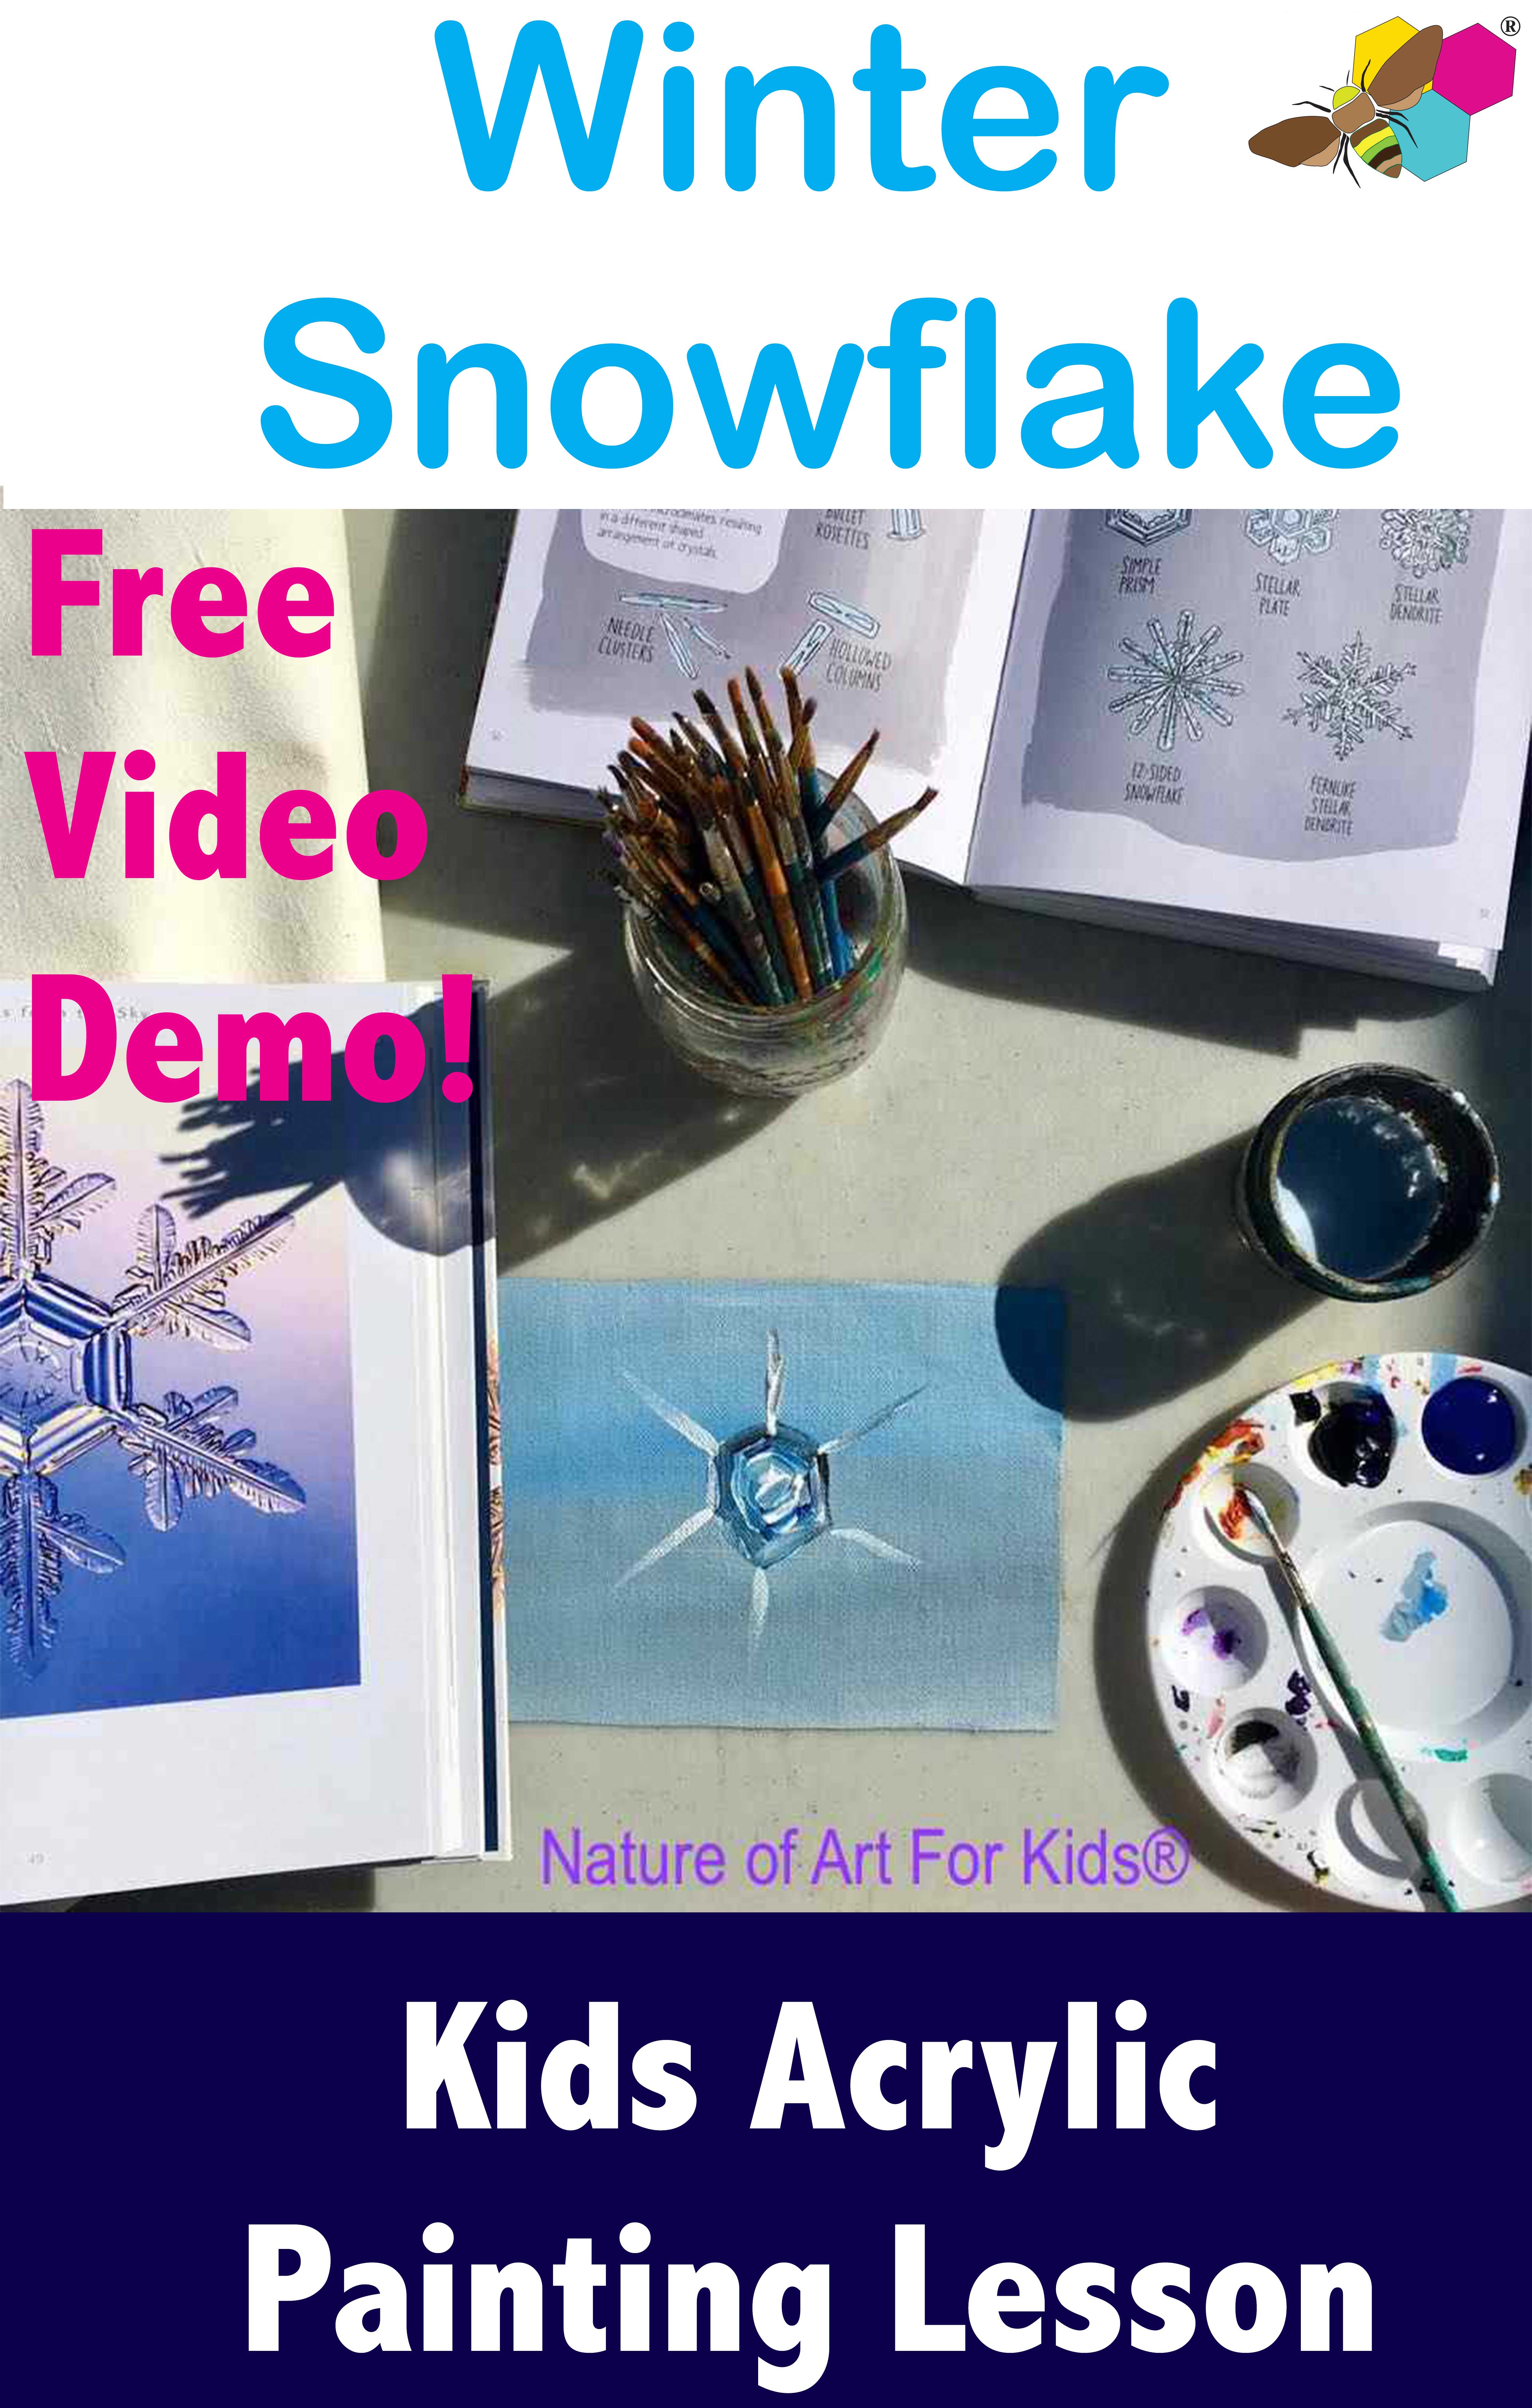
In this blog post, I am thrilled to share a step-by-step painting lesson on teaching kids how to paint a snowflake using acrylic paint. I regularly teach this lesson to children ranging from kindergarten through middle school. The objective is to guide them in creating a winter snowflake using basic acrylic mixing techniques.
This lesson is simple and enjoyable. You will need basic acrylic painting materials, which I have outlined below and mention in the live video demos. If you are interested in learning more on painting lessons for children, check out my painting curriculums available in both paperback and digital formats.
Painting Resources
- Kids Painting Curriculum – Suitable for early childhood through elementary levels
- Painting Work – Art Album – Geared towards elementary grades
- Kids Painting Book – Ideal for early childhood education
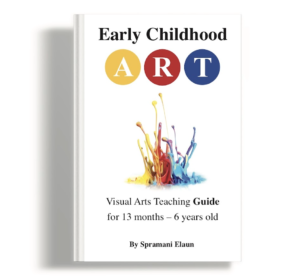
- Early Childhood Art Guide
Acrylic Painting for Children
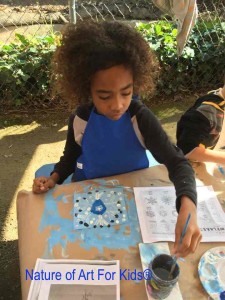
Children enjoy acrylic painting activities. Acrylic painting is particularly suitable for children starting from kindergarten age and above, because they can follow basic instructions. When painting with children, I recommended to only using student-grade acrylic paints and craft paints. For further insights on using paints with kids, I recommend reading the following blogs: How to pick paints for kids art projects, or / Painting brushstrokes for beginner kids
How to teach children to paint a snowflake step-by-step Acrylic Demo 1. Video
Mixing tints and shades Acrylic Demo 2. Video
Acrylic Painting Art Supplies
- Acrylic Paint: White, Black, and Blue
- Palette
- Small Canvas
- Paintbrushes
- Wash Jar
- Napkins
- Smock
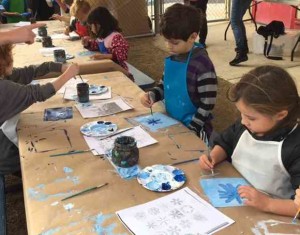
Painting Instruction Steps:
I recommend watching my two demo videos before you start working with kids. I have many ideas and tips I share in the video that will help your activity go smoother.
- Begin by painting the background, covering the entire canvas to depict a stormy or cloudy day. Allow sufficient time for the paint to dry before proceeding to paint the snowflake shape.
- Sketch the skeleton snowflake form using a small paintbrush and a dark paint color. This step is akin to outlining the basic snowflake shape desired.
- Ensure that the outline marks are symmetrical; let the children decide the number of crystal needles they wish to include. This presents an excellent opportunity to discuss the concept of symmetrical balance.
- Proceed to add needle crystal marks branching off from the main skeleton.
- Paint details over the needle marks using light paint colors to give the snowflake an icy appearance. Blend grey and blue tints to create these icy brushstrokes.
- Demonstrate to the children how to create sweeping brushstrokes using mixtures of different colors from the palette.
As an additional learning opportunity, introduce the terms “Tints & Shades,” which will be further explored in video 2.
Earth-friendly Art teacher & Author,
Check out my Kids Painting Book:
Spramani Elaun
All rights reserved © 2025, Nature of Art®

No part of this blog may be used or be reproduced in any manner whatsoever including reproducing, publishing, performing, and making any adaptions of the work – including translation into another foreign language without written permission except in the case of brief quotations embodied in critical articles and reviews. Nature of Art® Publishing P.O. Box 443 Solana Beach, California 92075.
