Kids Monotype Lithograph, Printmaking
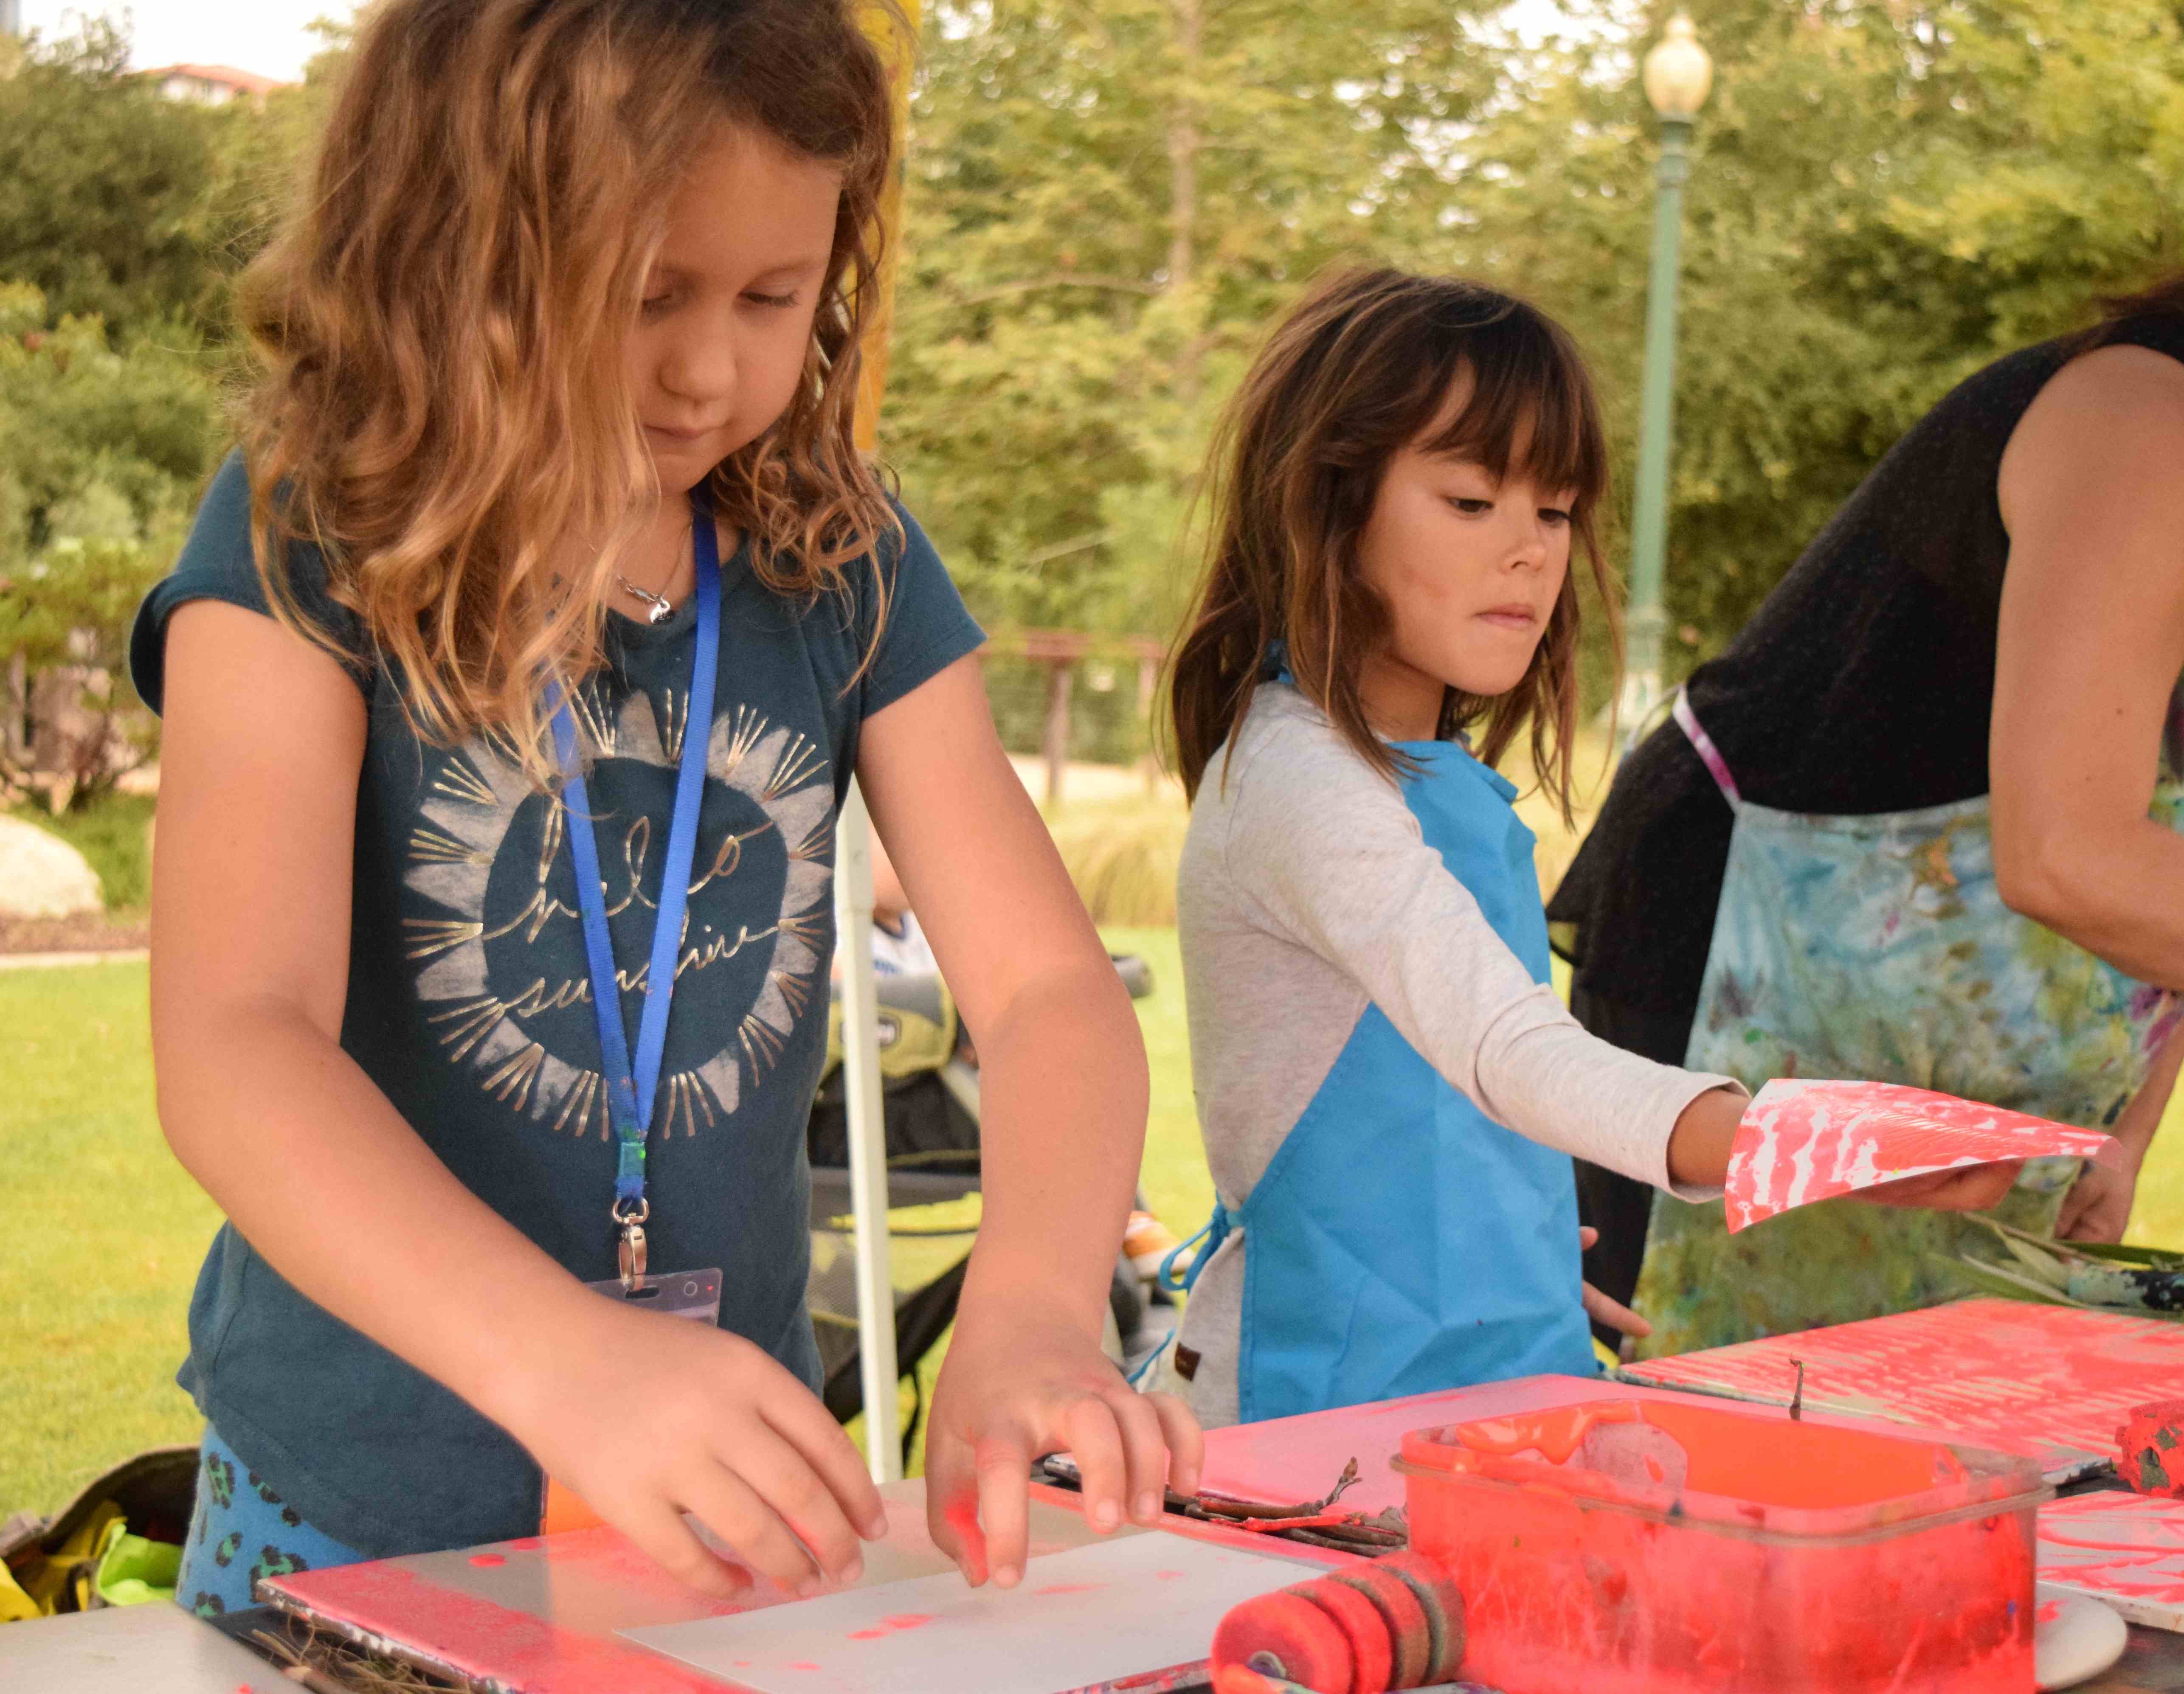
Learn about Monotype prints and discover the creative possibilities! In this blog post, I’m excited to share a fun project involving paint, paper, and a floor tiles. I often enjoy this project in my art camp classes. Monotype is a one-of-a-kind impression pulled from pigments. You can pull an impression off paper that’s transferred from pigments. Each Monotype print is unique because usually you can get only one or maybe two impressions before the pigments are absorbed by paper.
Printmaking for all ages
You can truly teach this to toddlers all the way to high school grades. Toddlers have fun with rollers and fingers. Older students tend to get really creative trying many types of images, and changing each impressions detail. And once they start to understand the concept of what a mono print is. They really start to get into creating cool textures and interesting designs.
It’s so much fun to learn about lithograph printing. In my new book “Kids Painting”, I share how kids love and thrive when learning to paint. If you work with children and want to do more painting projects, you have to check out my books.
4 Steps to Monotype Lithograph
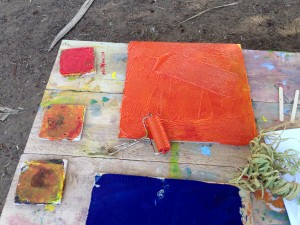
Step 1. First spread paint, use roller or what ever you desire to spread paint across a tile. ( I use tiles, you can use anything)
Step 2. Create a design with a stick or popsicle stick. You can draw an image or letters if you want.
Step 3. Lay down a piece of paper on top of the tile, and smooth out and press gently. You want be sure to coat the paper with paint.
Step 4. Lift paper up. You should see an image on your paper.
If it’s not perfect, do it again. This takes some time to learn how much paint you really need. Results are always going to depend on the paint and paper and surface.
Art Materials
Tiles
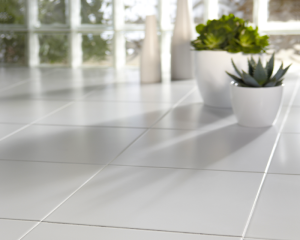
In my classes I use different tile sizes. These tiles are the same type you would find in a hardware store. Stone or ceramic tiles from a hardware store that are used for flooring or counter tops. Simple tiles at the hardware store can cost a couple of dollars, and can come in many different sizes even textured. Keep in mind the size of the paper you will be using.
Paint
Any type of non-toxic paint for kids works well. We use our earth-friendly acrylic and watercolor.
Acrylic dries quick, but will be nice and thick and make great monotype print. Watercolor will take longer to dry, but also makes some beautiful transparent impressions. I recommend you try different types of paints.
Rollers –
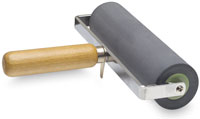
Quality rollers can be purchased at a hobby or craft store, but not necessary. We’ve used different items like tee pee paper rolls, paintbrush rolls, and large sponge brushes.
Paper –
Any type of paper can be used. We use our felt watercolor paper for the watercolor paints and our quality smooth thick drawing paper for acrylic paint. Be sure to have plenty of paper handy. Try out different size papers and even textured paper.
Impression materials – Anything goes here!
We use popsicle sticks to draw pictures, our fingers, or crazy string to make textures. You can get really creative here and try many different types of objects, or just draw an image on the tiles. You want to work in an area safe for spills to happen.
Paint near running water like a bathroom or kitchen sink for easy clean-up, if you want to learn all my tips and tricks for painting with kids, buy my new book “Kids Painting” here. I share all my seasoned tips for setting up and working with kids and paint. You can even learn what paints are safe and best for kids!
How to teach children to paint, first time lessons
Purchase Kids Painting Curriculum Here
All rights reserved © 2025, Nature of Art®

No part of this blog may be used or be reproduced in any manner whatsoever including reproducing, publishing, performing, and making any adaptions of the work – including translation into another foreign language without written permission except in the case of brief quotations embodied in critical articles and reviews. Nature of Art® Publishing P.O. Box 443 Solana Beach, California 92075.
