5 Earth Day Art Painting Projects For Kids, Earth Friendly
By Spramani Elaun
In honor of Earth Day I’ve decided to share my 5 earth-friendly art painting projects I host annually at some of the largest Earth Day celebrations on the West Coast.
1. City of Trash – construct a city out of your own daily waste and paint.
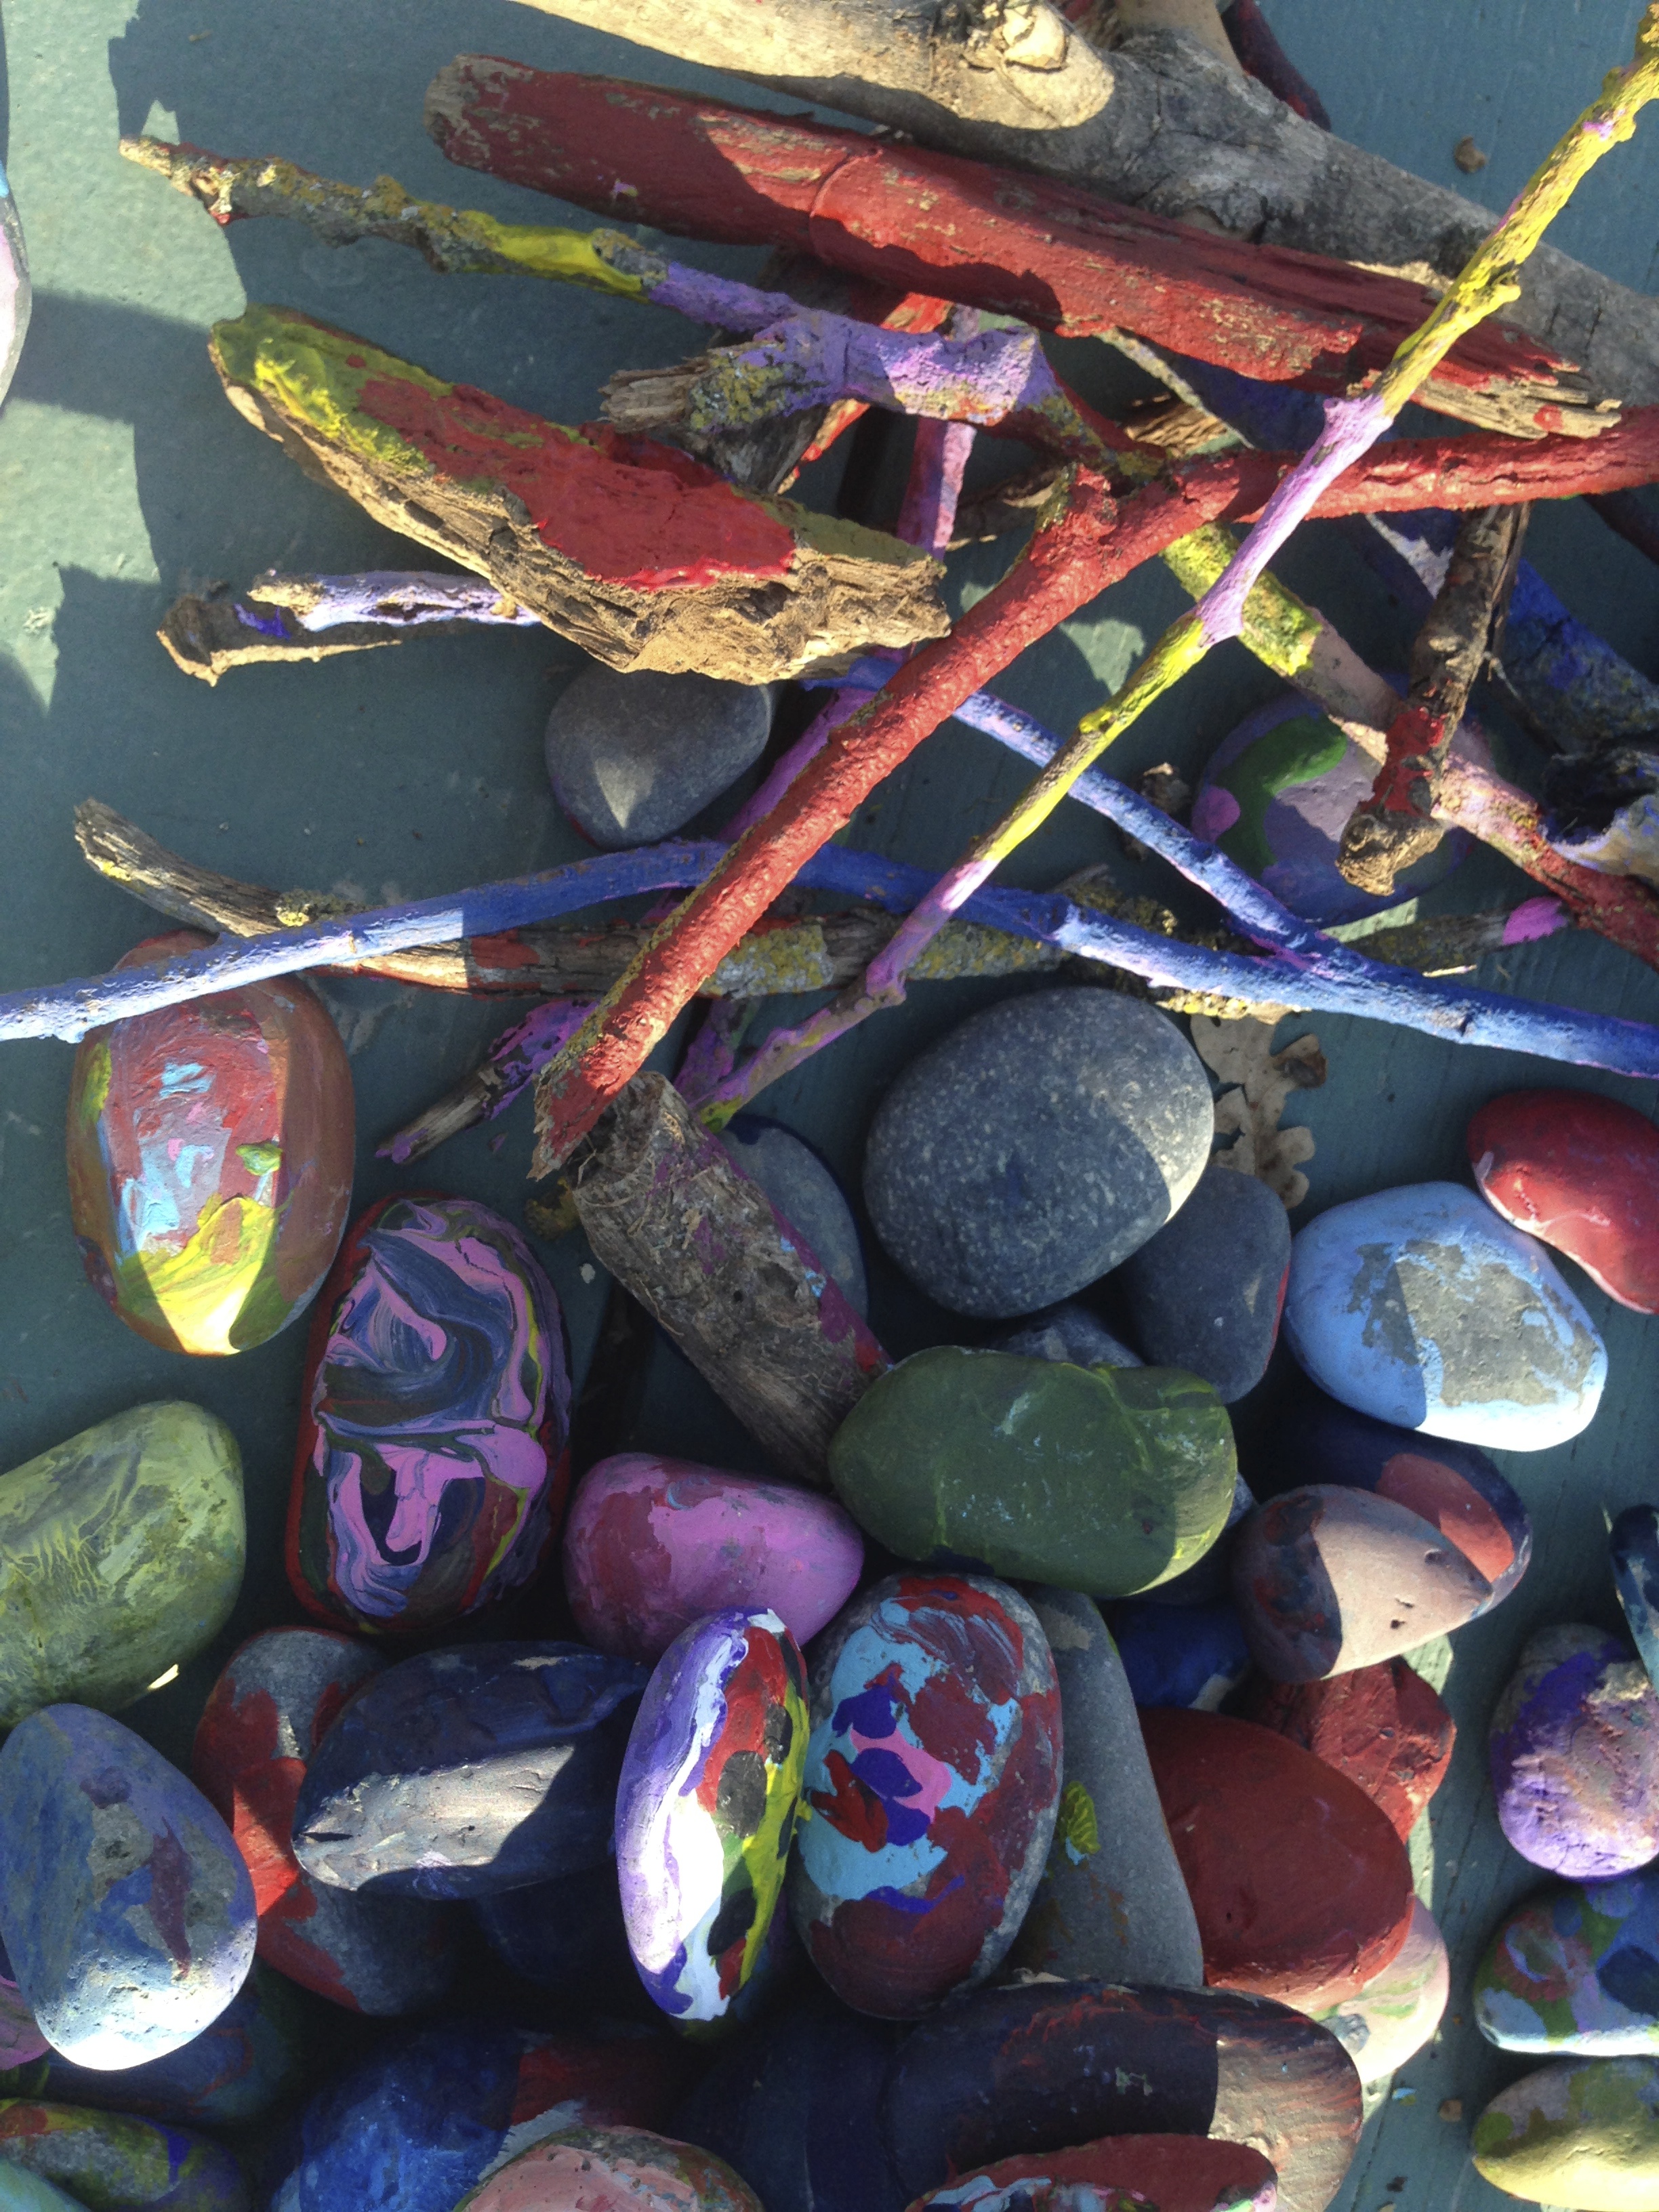
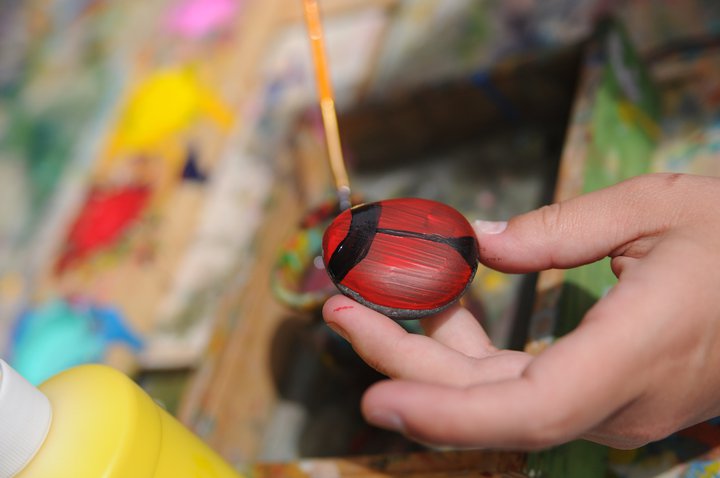
2. Sticks n’ Stones – paint rocks with eco –friendly acrylic paint.
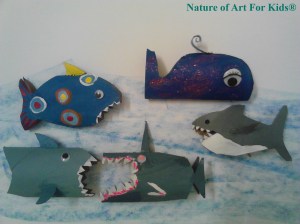
3. Paper Roll Sharks – recycle paper rolls into cute sharks, paint and embellish.
4. Upcycled Canvas – paint on recycled cardboard.
5. Paint Veggie – paint cute funny faces and embellish with up cycled scraps.
Project 1.
City of Trash
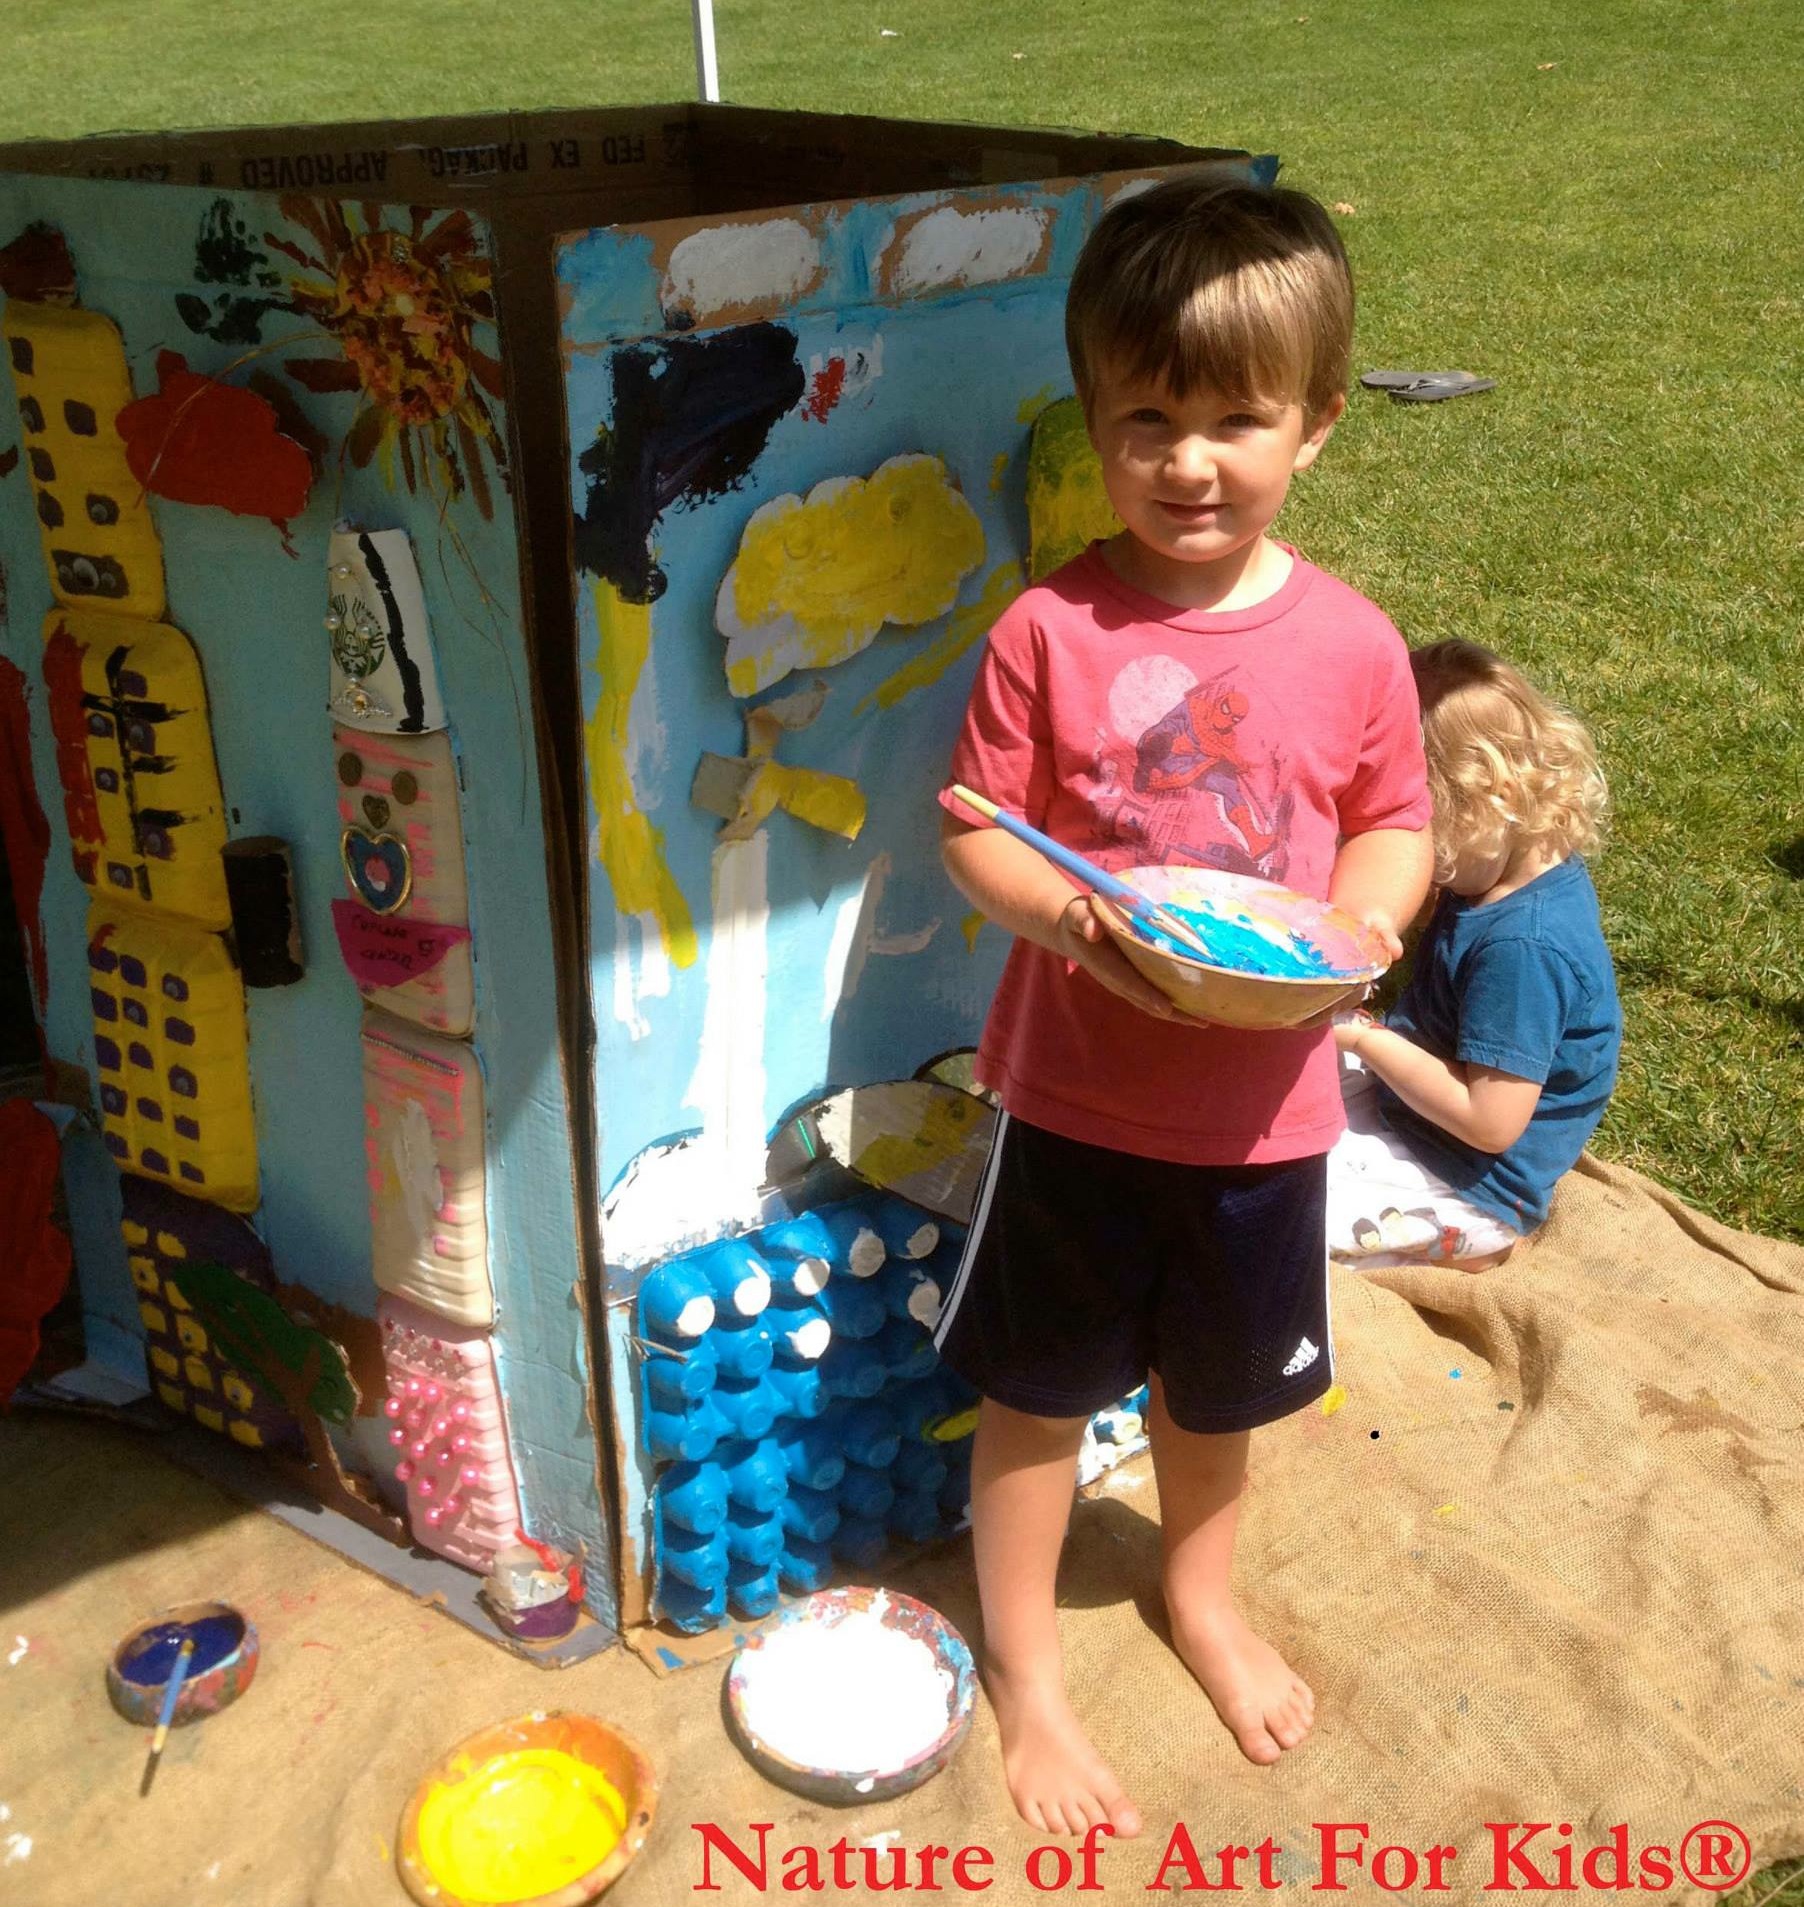
City of Trash is a collaborative recycled cardboard art project I created for one of the largest Annual Earth Day Events held at Balboa Park in San Diego, California.
City of Trash was my way of showing children how one household can produce an abundance of non-biodegradable waste weekly, and an opportunity to educate them about our landfill issues.
The art project structure started with me challenging a group of children to save one week’s worth of trash from shopping trips to the grocery store with their families.
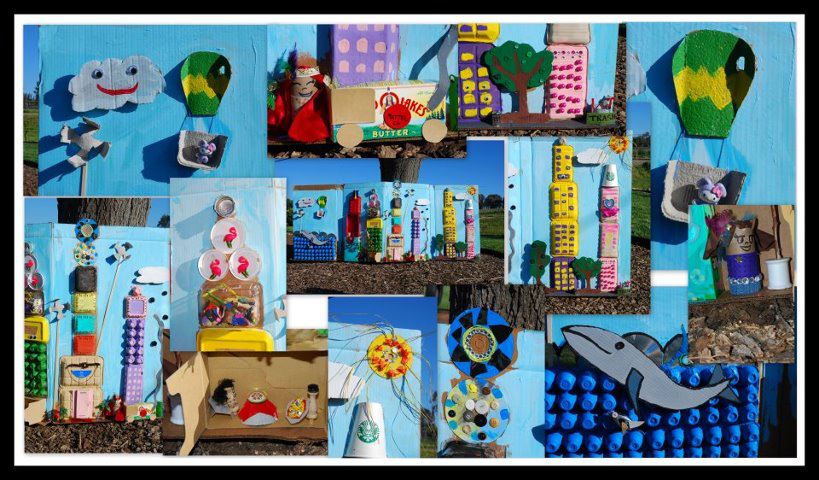
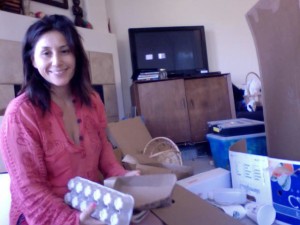
I asked them to save everything that would normally go into the trash or recycle bin – minus perishable items. I took the challenge myself and saved all of my shopping containers for one week, “See picture below”.
After collecting a week’s worth of garbage, I set out to start constructing City of Trash.
I guided the kids with simple ideas of building features usually found around city landscapes.
I found an extra-large cardboard box and recycled it into our flat canvas to build onto.
I started the basic constructing of tall buildings and the kids jumped right in with some really cool and creative ideas of their own.
Once the city was constructed, the second phase of painting than started.”
The second phase was a great opportunity for me to teach a painting lesson to the kids.
We used earth-friendly, safe and non-toxic acrylic paints on this project.
The City of Trash upcycled structure below was on display and open to the community to view at the EarthWorks Earth Day Festival in San Diego.
Our City of Trash was captured on camera by several local network T.V. channels.
I also had the opportunity to host the same type of project with local homeschooling organizations.
The earth-friendly message behind this art project is to remind consumers of their buying habits and the landfill issues we face today.
The earth-friendly message behind this art project is to remind consumers of their buying habits and the landfill issues we face today.
Trash we collected was packaging scraps commonly recycled or discarded.
This low-cost project can be re-created for kids to make as an Earth Day project.
Listed below are simple suggestions for making this project at home, in classrooms or with organized groups such as boy or girl scouts.
Boy or girl scouts can earn a badge or patch for learning about what “earth friendly” means.
How you can create this project:
• Collect trash, cardboard, boxes, and anything that cannot biodegrade quickly or that commonly goes into the recycle bin.
• Good scissors
• Glue gun – low temperature glue gun (parents should help with glue gun
• Non-toxic paints
• Paint brushes
• Duct tape or clear strong tape
Project 2.
Sticks n’ Stones
Paint on natural sticks and rocks found on the land
Project 2.
Sticks n’ Stones
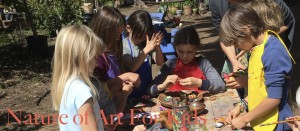
This signature earth-friendly art activity made waves around San Diego communities and has traveled to major Green Festivals, Earth Day Events, Museums and Educational Venues all over the West managed by my company Nature of Art For Kids®. It started on the 101 beach road in San Diego at a local beach community farmer‘s market in Encinitas, California. I wanted to create an art project with kids that was 100% sustainable to for the environment. I searched for the most earth-friendly surfaces to paint, found natural earth elements like rocks and sticks, then searched for the most earth-friendly paints to paint them with. It was a difficult mission for me to find a truly earth-friendly paint that would stick to the surfaces of a rock and was safe for kids to use. Around that same time the idea of my new company was born, the first ever non-toxic, safe, and earth-friendly acrylic paints just for kids.
It took me over a year to bring a safe, U.S. Made acrylic paint just for kids to market. After the manufacturing of my earth-friendly acrylic paint I started to appear all over California with my Sticks n’ Stones earth-friendly art project.
Sticks n’ Stones has been featured at some of the most earth-friendly events in the nation, such as Cardiff Green Festival, Green Fest, Earth Day Festivals, Organic Farm events, Original Harvest Craft Festival and the largest Pumpkin Festival on the West Coast.
The idea is simple – use a surface that is not man-made, can be found in nature, and is safe to use. Use Earth’s natural resources! Use a paint that is safe for the environment and for small children.
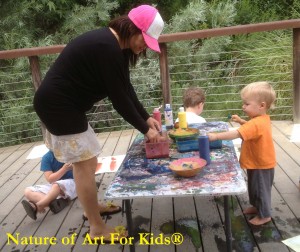
Setting up kids to paint rocks
Acrylic Kids Paint – We use Nature of Art For Kids® Earth Friendly Acrylic Paint
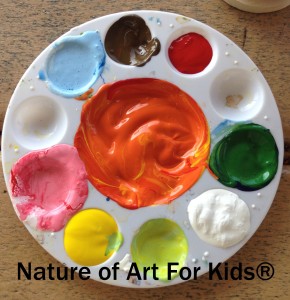
Palette
Paint Brushes
Napkins
Water Jar
Rocks
River rocks or any stone of any shape will work. I like river rocks because they seem to have the flattest surface to paint an image on.
Wipe your rocks clean by washing them in water.
Completely dry rock before painting.
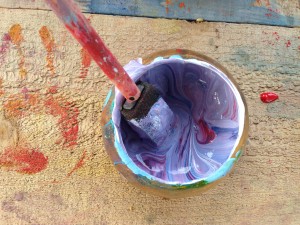
Prepare a palette filled with a variety of colors children can choose from. A paper plate, or recycled egg carton can also work as a palette to hold paints.
Having a tiny, medium, and large, wide paint brush available is perfect for all brush stroke desires. If you don’t have all three that’s OK, one medium-sized paint brush works well with kids.
Tip: Paint each layer of color and set aside to dry.
Painting one layer coat of paint at a time gives better results. Set your rock aside to dry for a few minutes before you add a new layer of color.
Rocks dry best when left in direct sunlight.
Project 3.
Paper Roll Shark Painting Project
Beware kids love creating sharks out of paper rolls!
Beware – kids love creating sharks out of paper rolls!
A simple recycled paper roll can transform into a water shark kids will delight in making.
It is a inexpensive craft project and easy to manage with young to middle-aged kids.
Save money by using materials you already have and save trees! This project was inspired by one of my young art students who loves sharks.
I went to my creative team to figure out an eco-friendly shark art project. Presto…. paper roll sharks!
.
This project meets all of my earth-friendly criteria: recycled paper rolls are re-used, the project is easy for young kids to create, sharks are on the endangered animal list a great topic to study.
Our earth-friendly acrylic paint is perfect to paint on these cute shark creations.
A project that’s earth-friendly all the way!
4 part framework – my natural art method
1. Collect the materials
• Recycled Paper Rolls
• Kids Paints – We use Nature of Art For Kids® Earth Friendly Acrylic Paint All types of paint can work for this art project.
• Eyes googly eyes, fabric scraps or buttons can be used)
• Paint brush – wide
• Paint palette
• Water jar
• Napkins
• Scissors
• Glue
• Shark template shape
Materials Tips:
Acrylic works best on paper rolls, giving a nice opaque coverage over cardboard.
Large, wide paint brushes work best for this project.
Sponge type brushes can also work well to paint sharks. A painter’s palette or egg carton will work best to hold paints.
Water jar for dipping and cleaning brushes in between colors.
Napkins for paint brush clean-up or messy hands.
Baby wipes are awesome for cleaning messy hands with paint on them.
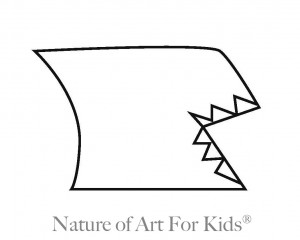
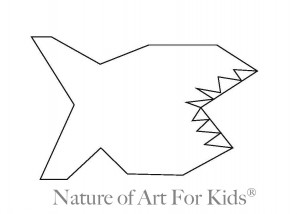
Cut template pattern out, place on top of flattened paper roll and trace. Be sure your paper roll is flattened for easy tracing.
Anything will work for tracing, whether it’s a pencil, marker, or crayon, since he tracing marks will be trimmed and painted away.
Once shape is traced, trim shape out with scissors and unflatten the paper roll, popping it back into a roll shape.
- shark templet 1.
Shark template
Cut template pattern out, place on top of flattened paper roll and trace. Be sure your paper roll is flattened for easy tracing.
Anything will work for tracing, whether it’s a pencil, marker, or crayon, since he tracing marks will be trimmed and painted away.
Once shape is traced, trim shape out with scissors and unflatten the paper roll, popping it back into a roll shape.
Fin making tips:
Use scraps to make a fin shape for a shark or fish creature.
Glue fins on with glue or a glue gun.
I‘ve found that it’s easier and I can get sturdier results if I cut a slit in the roll, and place the fin inside, and glue it to secure the fin in place.
This helps the sharks fin last longer and stay in place while kids have fun playing with their sharks.
Teeth making tips:
You can make sharp teeth by drawing them ahead of the time on paper roll or just cutting them out free-hand.
Kids can also just paint or draw on teeth with using white paint.
Eyes
Glue eyes on with children’s glue or a glue gun
2. Set the environment
• A space to get messy
• Good lighting
• Flat work-station
• Materials
• Smock or clothes that can get messy
It’s important to have a place children can get messy that will with stand messy spills.
It’s important to set up in a place children can get messy.
Be sure table and chairs are at the level of the child.
Materials should be easy for children to reach during project making.
.
3. Child-led and adjustable for all ages
This project can be achieved by many different skill levels and easily adjusted for toddler to middle aged kids. (Read more about this fame work n my new book, Nurturing Children In The Visual Arts Naturally©). (Read more about this fame work in my new book)
Paper roll prep for young children:
I recommend cutting sharks out ahead of time for kids under 5 years or kids not using scissors yet. Kids can paint and embellish with ease if the shapes are cut out ahead of the time.
Tracing and cutting (out templates) can work well with older kids(*).
Allow independent kids to trace and cut out (their) shark(s) themselves.
If your kids are fine motor capable then this is great for them.
Be sure to have plenty of extras (extra) paper rolls for (replace “for” with “in case of”) mistakes.
Young kids cutting out their own templates will need time to understand how the template pattern works by tracing and cutting it out with practice.
4. Exploration Time
The most important part of this project is allowing children time to explore and construct this project with their own hands.
Older children will usually spend more time painting and embellishing their creatures.
Mature students usually try different shapes other than sharks designs.
For this project I recommend 15-30 minutes for younger children and 40 minutes -1 hour for older children.
The common process you can expect for these ages is:
15 months – 6 years: Children will learn to dip brushes into paint, learn to make brush strokes, play in palettes and mix paints, swish water around in jars, learn to spread paint over sharks and delight in the process. Most areas on the shark will not be covered completely. Using hands in paints and exploring by covering the art or table in paint) s common. This is all perfectly normal.
6 – 9 years old: Children will want to make their sharks unique and spend time exploring how the fins can create a different look on each shark.
Children of these ages quickly learn how to use materials and don’t need to be guided in the process of making. Only one or two demonstrations is necessary.
10 – 15 years old: Children will enjoy the mixed-media aspect of this project and create many different versions. Students at this level will spend careful time planning designs. These students can work independently and for longer durations of time.
Project 4.
Recycle Cardboard into a canvas!
Eco Facts on Cardboard
One ton of recycled cardboard saves:
- 390 kWh hours of electricity.
- 46 gallons of oil.
- 6.6 million Btu’s of energy.
- 9 cubic yards of landfill space.
Cardboard and paper waste make up 41% of the municipal solid waste stream. Recycling cardboard takes 24% less energy and produces 50% less sulfur dioxide than making cardboard from raw materials. Learn More Here What would you save using old cardboard products, rather than buying canvas or manufactured surfaces to paint on? I imagine lots of energy, water and not to mention less impact of cotton cultivation. It’s also a known fact herbicides are used to defoliate cotton prior to harvesting which is more environmental pollution.
Painting on cardboard is earth-friendly and kids love it!
I use child-grade acrylics which coats great on cardboard. Tempera paints can work on cardboard boxes but will not have a solid opaque finish like acrylic paint.
You can work in large-scale without having to buy a large expensive canvas.
Cardboard boxes can range from small sizes like a cereal boxes to a large T.V. box and even bigger.
You can glue stuff on cardboard easy because usually there’s no coating.
Little kids love painting boxes!
I’ve hosted many community collaborative painting projects with large TV cardboard boxes with great creative results.
Projects we have made:
City of Trash – gluing trash to look like city buildings, then painted.
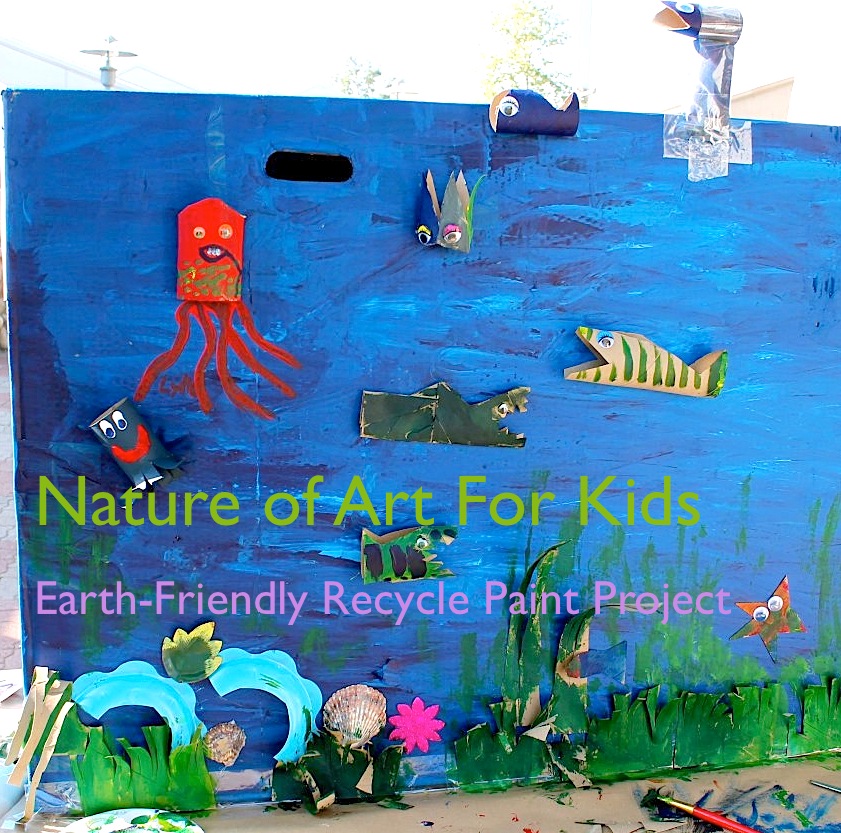
Aquarium – TV box painted blue, then children recycled trash into sea life creatures.
Plain Canvas Box – I have also glued old small canvas onto a large cardboard box. I do this when we have old canvas that kids don’t want to keep.
Objects you can glue:
Paper rolls
CDs
Egg cartons
String
Grocery small boxes
Lids tops from plastic food containers.
Old plastic toys from fast food meals
Styrofoam
Fabric Scraps
Straws
Bubble Wrap
Tip – Use a low temp glue gun
Kids will even enjoy painting on top of the same box from time to time!
Project 5.
Veggies can make natural safe paint for kids
Why veggie paint for kids?
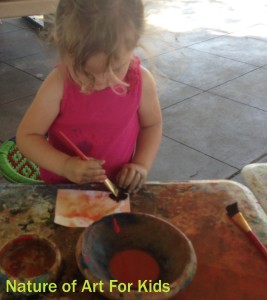
Over the past season art classes many parents ask my advice on what is the safest paint for their toddlers. My top advice is “homemade veggie paint made straight from the vegetable garden”. During babies transition into toddler years usually one year to three years everything is explored by tasting or putting into their mouths. Veggie paint is safe and perfect for this period. Even though there’s many safe non-toxic paints on the market for toddlers, they are still not meant for toddlers to eat. If your toddler is still in this phase you can try to make your own veggie paint. Veggie paint is great for first time painters. Making veggie paint is super easy too!
Book Excerpts:
Nurturing Children In The Visual Arts Naturally©
What Natural Paints Means
Natural veggie paints are generally made with ingredients like fruits, vegetables, flowers, seeds or leaves. Usually this means natural pigments were extracted from these types of vegetable plants. Note: natural resources can also be processed and combined with synthetic or food preservatives for longer shelf life when you buy natural veggie paints. As of today I have not identified any natural U.S. seals that regulate natural art products. It is left to the manufacturer to inform you of the ingredients list. Beware that natural art supplies in some concentrates can cause irritation or allergies to people with sensitivities. Natural organic pigments have been used for thousands of years, even in cave drawings.
All copy rights reserved ©2014 Spramani Elaun
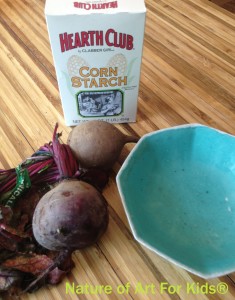
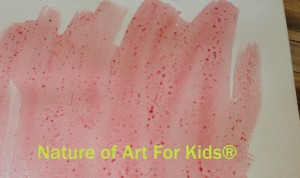
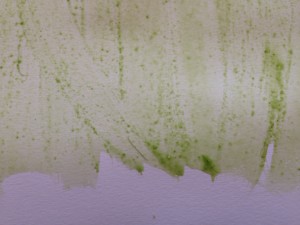
How to make Kale or Beet Paint
Similar to making vegetable juice drinks you can use the same kitchen equipment. In fact if you have a juicer machine you should try using that first.
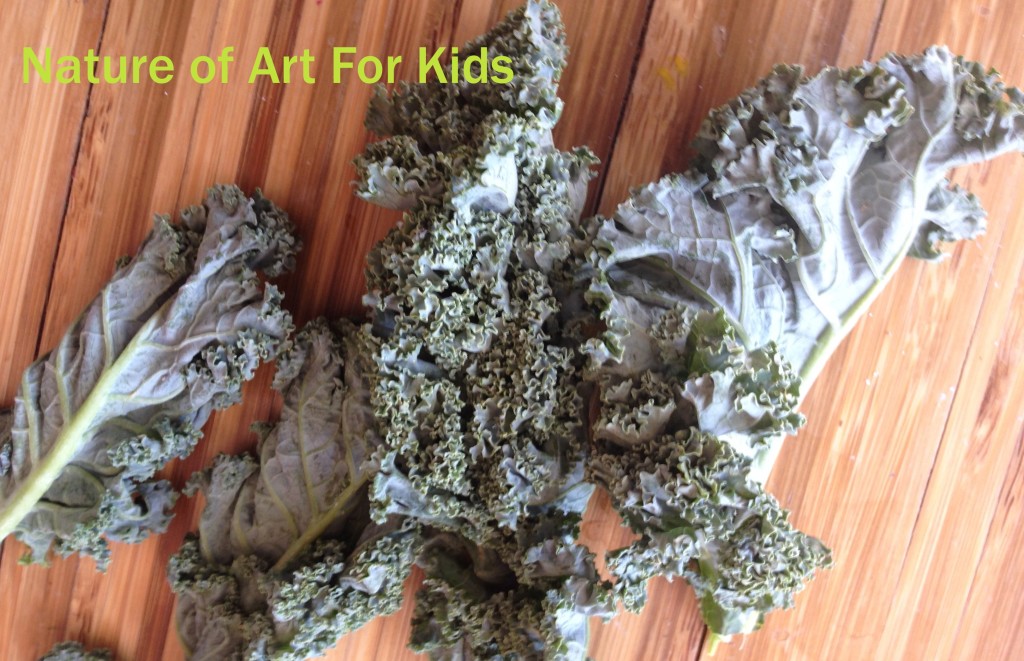
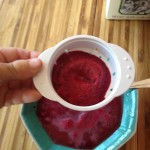
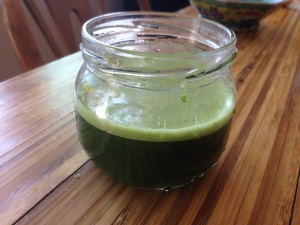
1. Blend your choice of dark veggies with water in a food processor or blender. Three parts water to one part vegetables. Kale, beet and carrot work well because the pigments are strong.
2. Strain veggie juice so you have only the liquid juice removing thick lumpy parts.
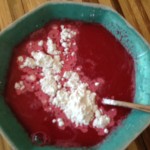
3. Thicken juice with corn starch if want thicker paint or just leave as a watery watercolor.
4. Store veggie paint in the refrigerator for a couple of weeks.
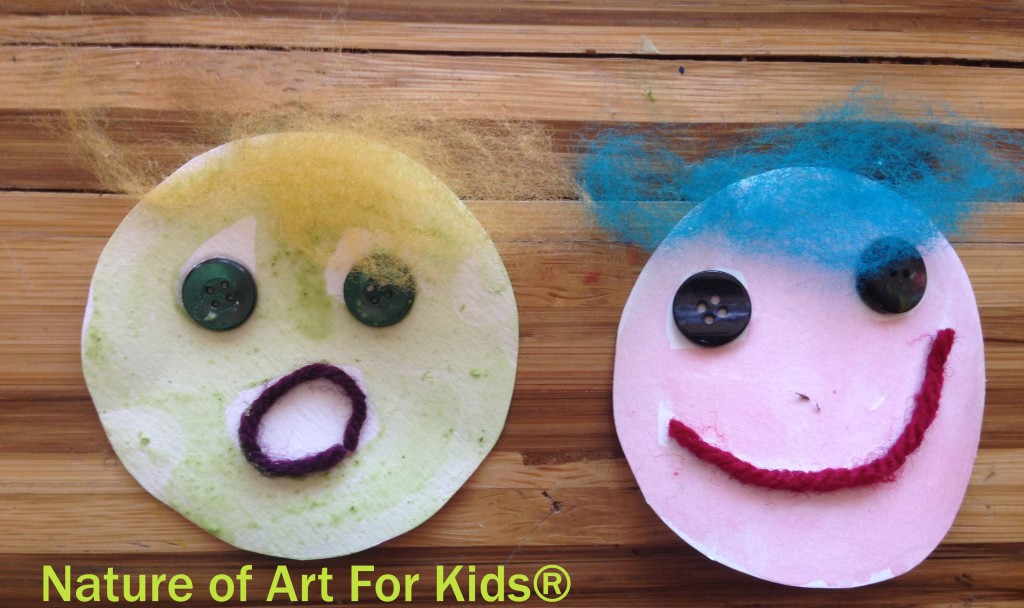
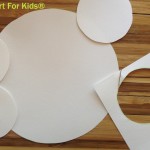
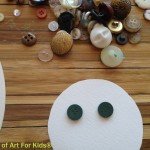
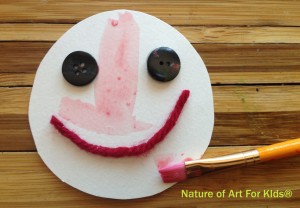
Make faces by cutting out thick round shape watercolor paper.
You can trace round shapes using a cup or plates from your kitchen.
You can do this project in different steps depending on the child’s level of abilities:
Younger kids can just paint and you can help glue face features.
Older kids can do all steps independently.
Very young toddlers can also just veggie paint prepared silly faces you made ahead of time.
1. Trace and cut circle faces
2. Have kids paint circles
3. let dry
4. Embellish with up-cycled scraps like buttons, yarn and wool.
A Short Cut Just for You
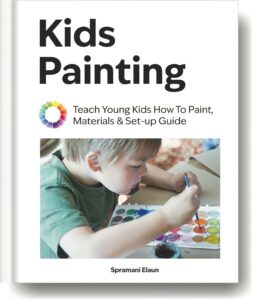
If you’d like to learn more about all getting kids painting, read my book, Kids Painting.
All rights reserved © 2025, Nature of Art®

No part of this blog may be used or be reproduced in any manner whatsoever including reproducing, publishing, performing, and making any adaptions of the work – including translation into another foreign language without written permission except in the case of brief quotations embodied in critical articles and reviews. Nature of Art® Publishing P.O. Box 443 Solana Beach, California 92075.




Recent Comments
http://Earth%20Day%20Coloring%20Page%20For%20Kids
April 11, 2015 at 5:07 pm[…] My 5 top earth-friendly painting projects to do with kids click here! […]
[…] My 5 top Earth Day painting Projects For Kids – Click Here! […]
[…] Read my top earth-friendly art project blog posts here! […]
Comments are closed.