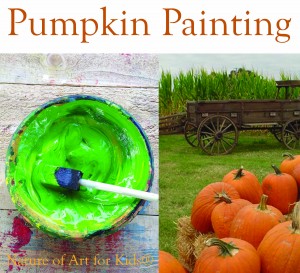
Painting Pumpkins With Kids
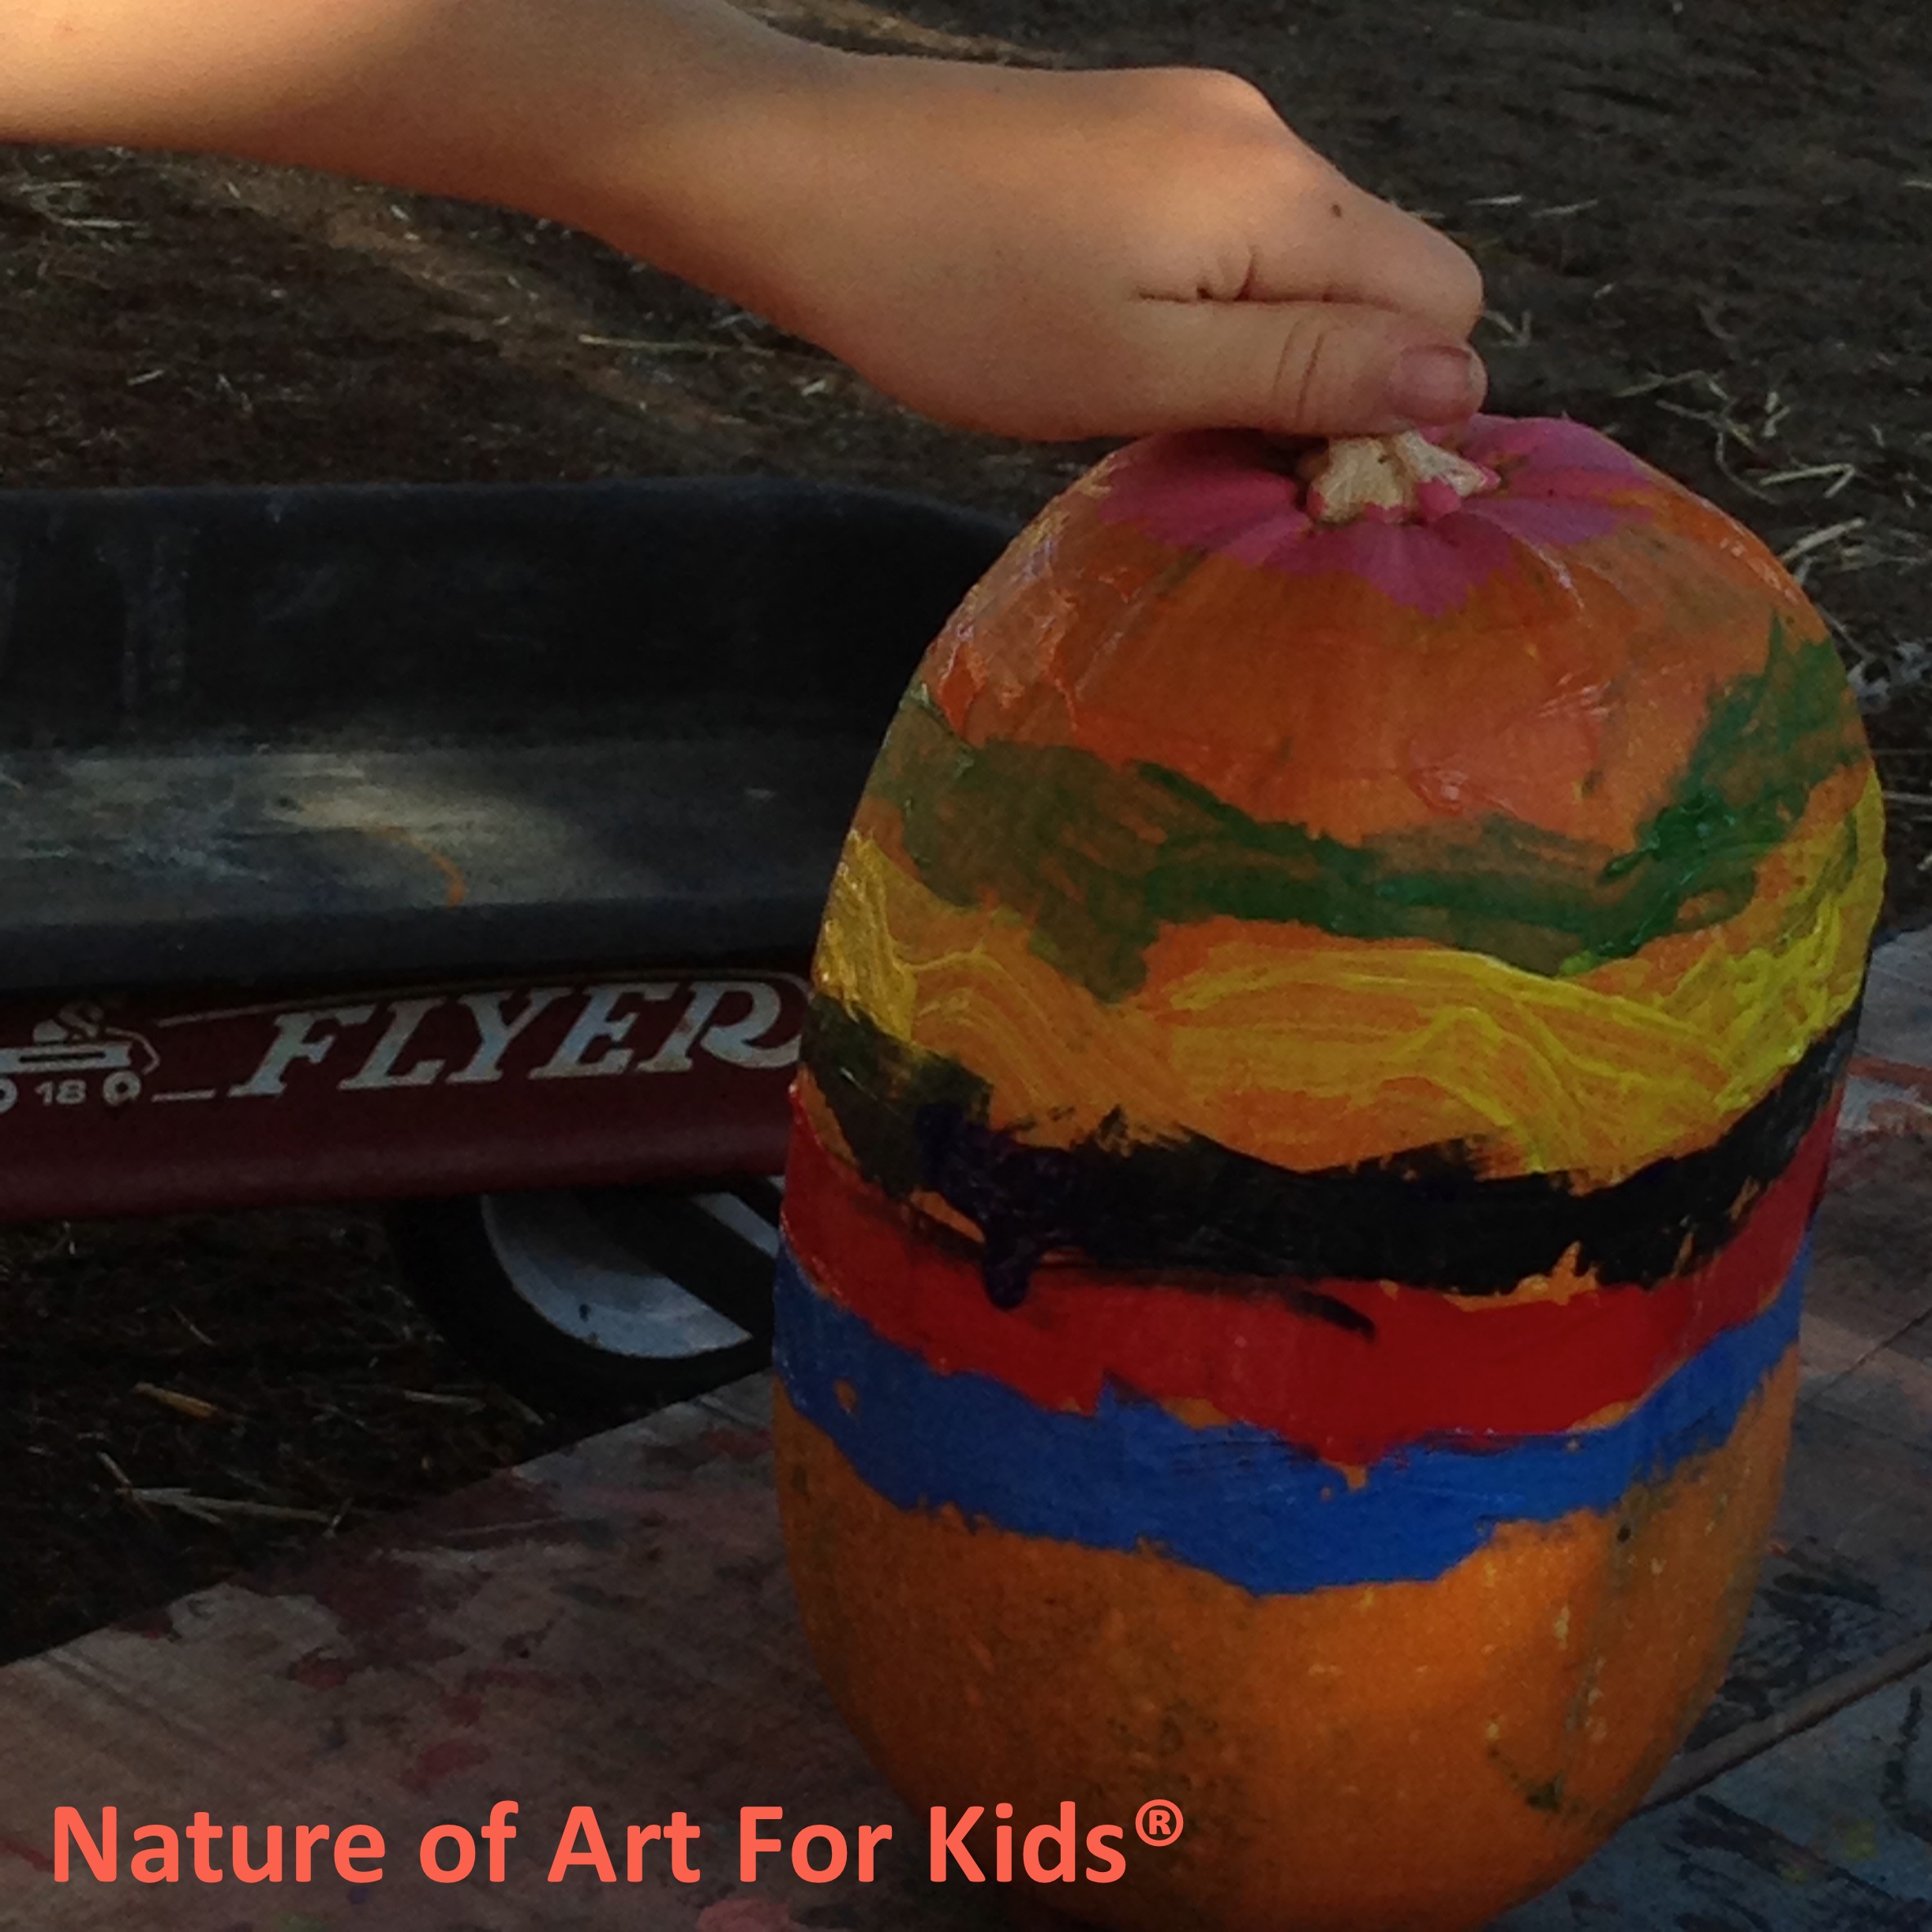
This fall, consider the delightful craft of pumpkin painting as an alternative to traditional pumpkin carving. This beloved pumpkin painting project has become an annual favorite in my art classes, adored by children of all ages.
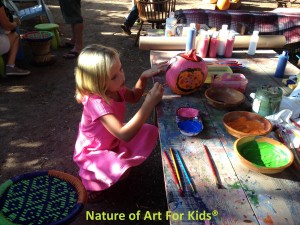
All you need is a pumpkin, some vibrant acrylic paint colors, a handful of basic supplies, and a suitable space for painting. What makes this project truly special is that it’s accessible to every age, including toddlers.
Choosing the right pumpkin
You can use pumpkins of any size for your painting endeavor – from the grandest to the tiniest, like the charming Jack-be-little variety. When selecting your pumpkin at the store, ensure you choose one without any blemishes. A pumpkin with minimal blemishes or bruising will stay intact throughout the entire fall season, preventing premature rotting.
Wash Pumpkin
-Wash the Pumpkin: Before you begin painting your pumpkin, gently wash it with soap and water. Ensure the pumpkin is completely dry before applying paint.
Painting Supplies:
- Smock
- Paints
- Paintbrushes
- Water Jar
- Paper Towels
- Palette
- Newsprint
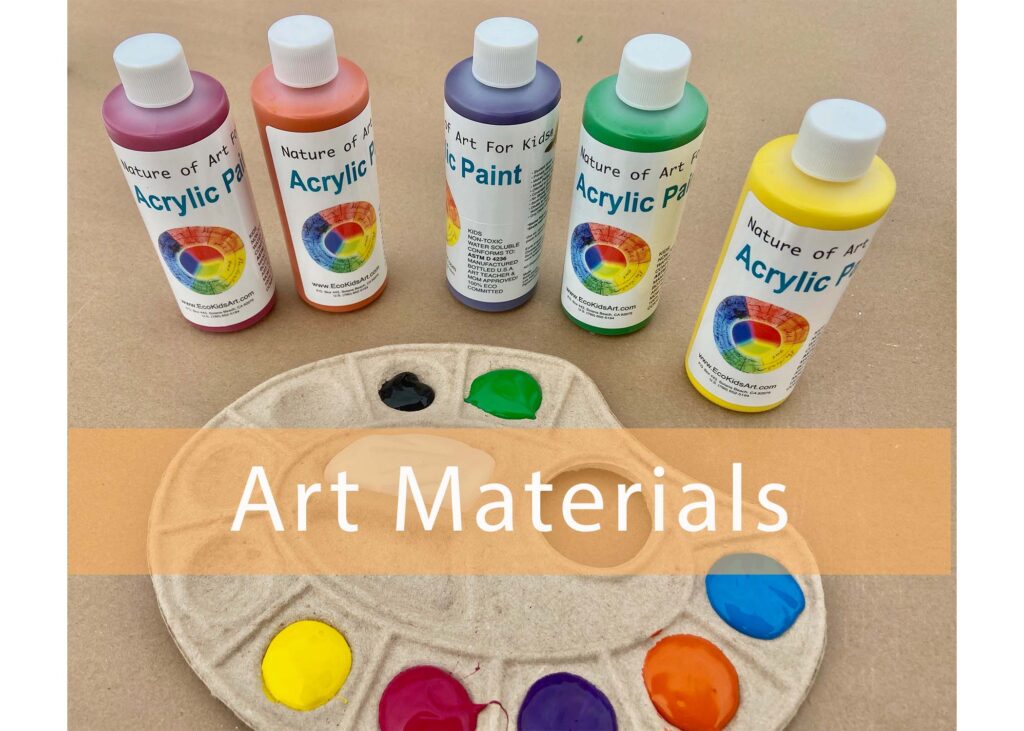
A smock or apron cover-up will protect clothes from getting paint on them. The best paint for painting a pumpkin is acrylic paint as it lasts long and dries well. However, tempera can work if that is all you have. Use a variety of different paintbrush sizes. Have a water jar handy for cleaning paintbrushes. Keep paper towels, napkins, or rags nearby for quick clean-ups. A palette can help hold your paints; if you don’t have one, a paper plate will work just fine. Finally, use newsprint or a drop cloth to work on or keep paint stains off other surfaces.
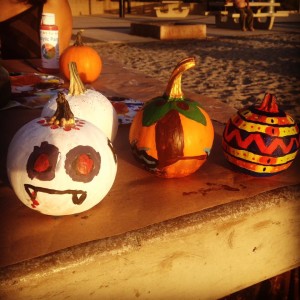
Prepare A Painting Space
Painting a pumpkin can be a messy project if not prepared ahead of time. Here are my tips for setting up a pumpkin painting space:
- Choose a space where mess is not a concern, such as a backyard or patio.
- Work on a flat, sturdy table capable of supporting the pumpkin’s weight.
- Ensure the pumpkin is at eye level for easy painting access around the whole surface. Painting on the ground is also an option.
- Use newsprint or a drop cloth to cover the work area.
- Wear clothes that can get messy, like a smock or cover-up, to protect against stains.
- Allow the pumpkin to dry between coats of paint.
- When working with kids, always use safe, non-toxic acrylic paints designed for children.

Cool Pumpkin Facts:
- Pumpkins change colors, ranging from orange to yellow, green, and sometimes red.
- The name “pumpkin” originates from the Greek word “pepon,” meaning large melon.
- Pumpkins are technically a fruit, but when cooked, they are commonly considered a vegetable.
- Last year, I witnessed a pumpkin with my own eyes that weighed 1,928 pounds!
A Short Cut Just for You
If you’d like to learn more about all getting kids painting, read my book, Kids Painting.


All rights reserved © 2024, Nature of Art®

No part of this blog may be used or be reproduced in any manner whatsoever including reproducing, publishing, performing, and making any adaptions of the work – including translation into another foreign language without written permission except in the case of brief quotations embodied in critical articles and reviews. Nature of Art® Publishing P.O. Box 443 Solana Beach, California 92075.


Pingback: How to Halloween Pumpkin Paint with Acrylic Paints()